You have 2 options after the lager is fermented, they are to
bottle the brew or transfer it to a pressure barrel. This brew will be transferred to a 5 gallon King Keg pressure
barrel fitted with a top tap and float system.
The first step is to sterilise the barrel, cap, jugs, glass and the plastic tubing.
I use Ritchies steriliser and cleaner at the rate of one teaspoonful per gallon of hot water and leave to soak for about 30
minutes and then rinse thoroughly with cold water.
To prime the brew, add 80 grams of sugar to the jug and mix with 250-300g of hot, boiled
water. Allow to cool then pour it into the pressure barrel. I intend to use finings in this brew, I use Beer Brite
sachets, other alternatives are Gelatine and Isinglass. To use Beer Brite, I put a small amount of filtered water into
the glass, added the contents of the sachet, whisked it with a fork for 1 minute, leave it to stand for 15 minutes then whisk
it again for another minute. It is not essential to use finings, but a sparkling brew will result from doing so.
The brew will clear up without finings; it will take a little longer though.
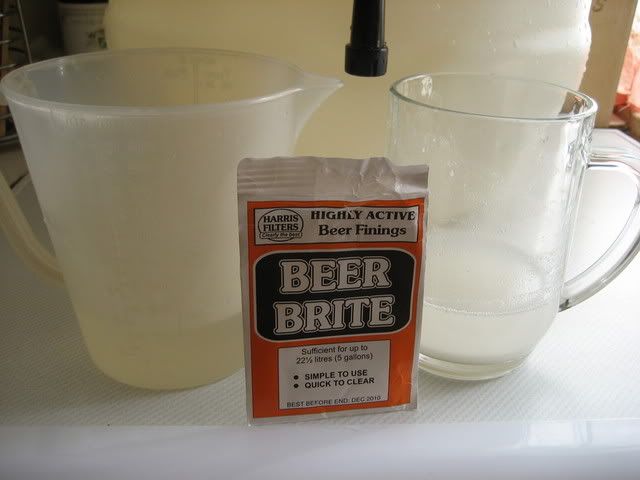
The above photo shows the dissolved sugar in the jug, the Beer Brite is in the glass.
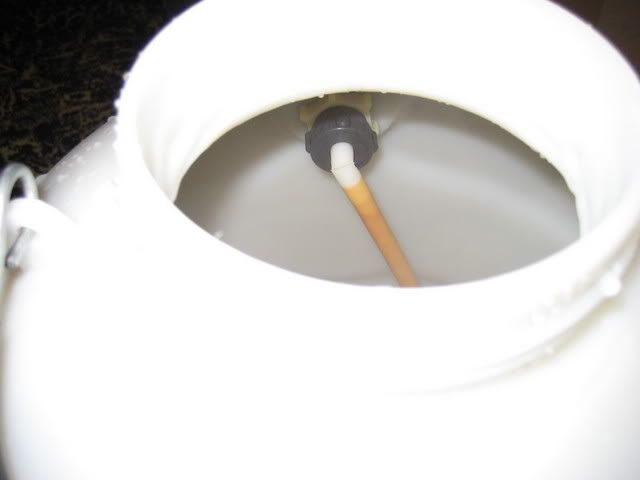
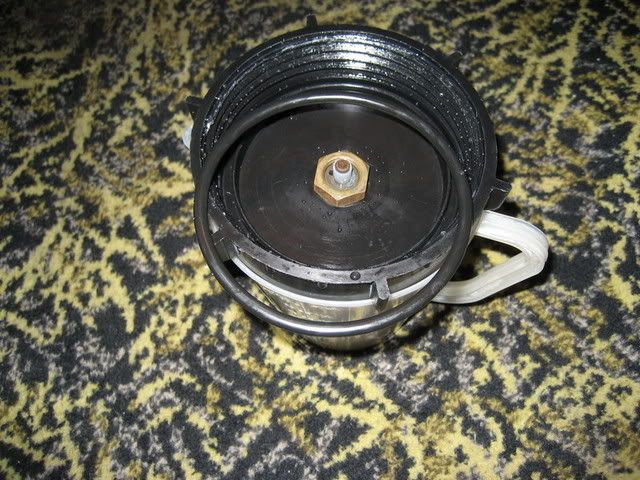
The above photo shows the connectors on the back of the tap.
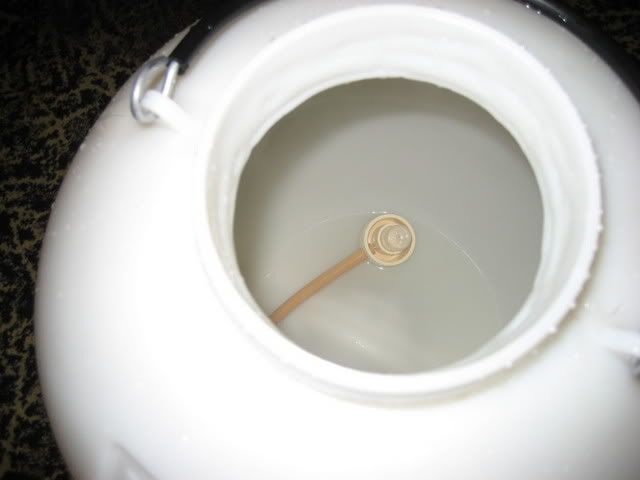
The above photo shows the float system.
The next stage is to transfer the brew to the pressure barrel,
to do so I push a length of plastic tubing onto the fermenting bucket tap, ensure the tubing reaches the bottom of the pressure
barrel to prevent the brew from splashing, this prevents oxidisation occurring.
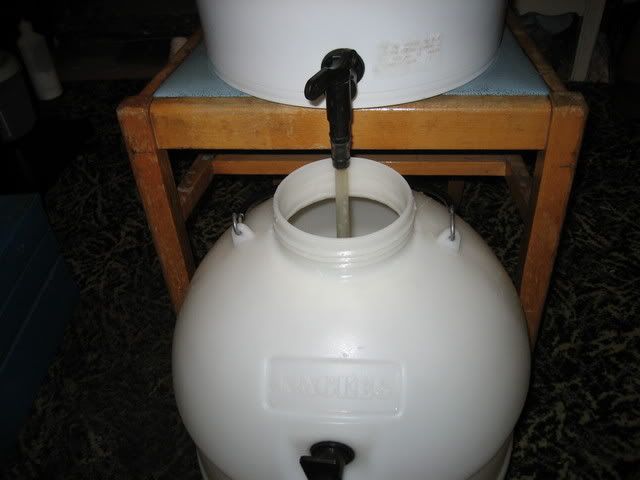
The above photo shows transferring the brew, note the tap is only
partly open, this also prevents oxidisation by transferring the brew slowly and gently. I add the contents of the glass
containing the Beer Brite when about half the brew has been transferred; this ensures that it will gently mix in with the
brew by itself.
While the brew is transferring, I prepare the cap by giving the
"O" ring and the screw threads a coating of vaseline or petroleum jelly. This helps to give an airtight seal and
make the cap easier to remove when the barrel is empty.
After all the brew is transferred to the pressure barrel, move
the barrel to a place where it will not be moved, this will prevent the brew from being disturbed and disturbing the yeast
sediment which will form in the bottom of the barrel.
Once the barrel is in place, I put the cap off the kit underneath
the tap, these make ideal drip trays.
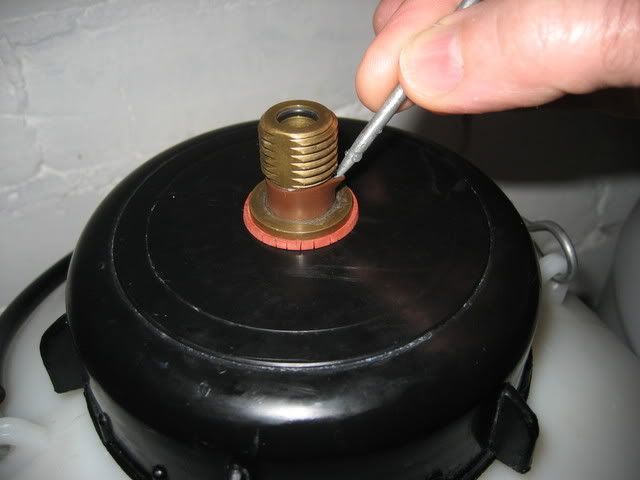
After 24-36 hours, I gently pull back the pressure release
seal on the valve as shown above, this purges the air from the barrel also preventing oxidisation, although at this stage
the risk is minimal, prevention at the transferring stages is more important.
All that is required now is patience, I recommend that the brew is left at least 6 weeks before
drinking it; your patience will be rewarded with an enjoyable lager at a fraction of pub prices.