The
kit I have chosen to make is a Vintners Reserve World Vineyard Australian Shiraz. This kit is only available in a 30
bottle size. All the necessary sachets for making this kit are included, you only need to buy corks, you may also like
to buy labels and shrink caps to give your finished bottles a professional look.
The
first step is to sterilise all the equipment which is going to be in contact with the wine, e.g. the fermenting bucket, paddle,
funnel, etc. I use Ritchie’s combined steriliser and cleaner, add the steriliser at the rate of 1 teaspoon
of the powder to 1 gallon of hot water. After around 30 minutes drain and rinse thoroughly with cold water.
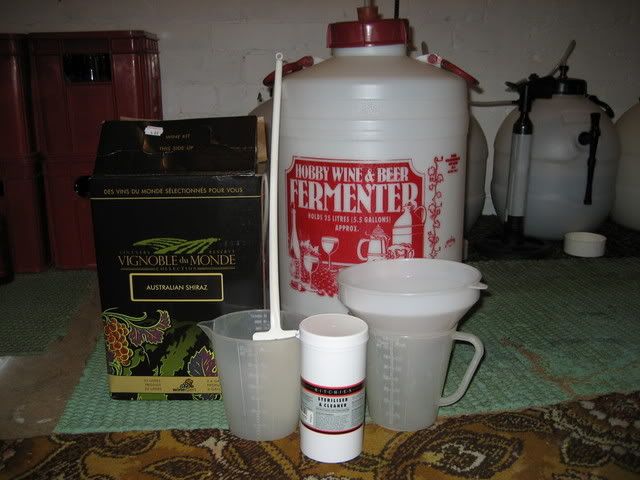
The above photo shows the equipment, wine
kit and steriliser used to make this kit.
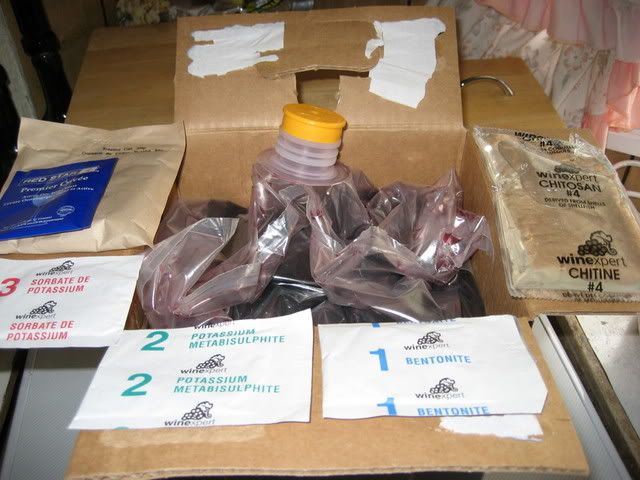
This photo shows the wine kit opened with
all the sachets on show.
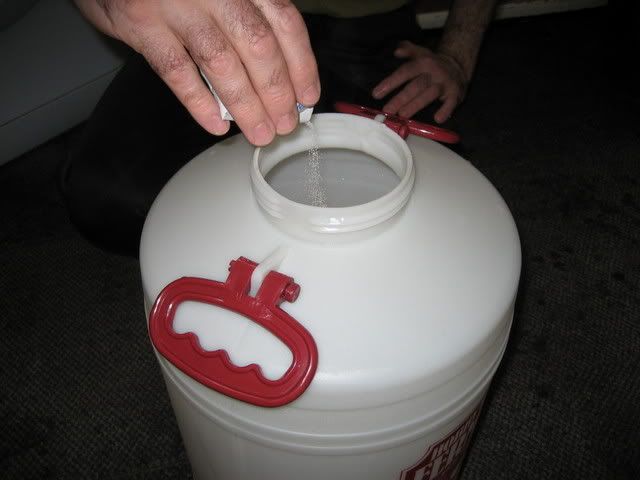
After sterilising and rinsing, the first step
is to add the bentonite to the fermenter as shown in the above photo. To do so add 2 litres of hot water to the
fermenter. Use water which has been boiled rather than direct from the hot tap, add the contents of the sachet and stir
with the paddle until all the bentonite is dissolved.
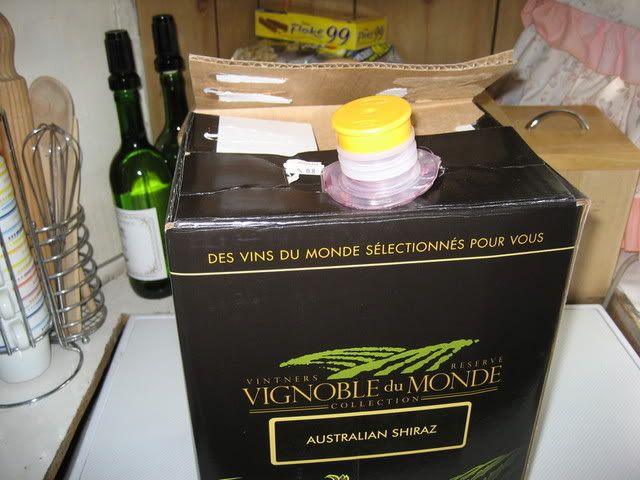
The lids on these kits have a handy slot to
push the top of the bag through which makes the pouring easy.
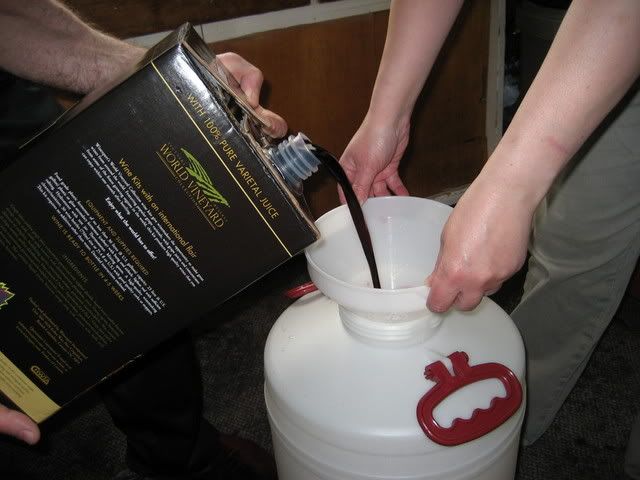
A funnel is very handy when pouring the juice
into the fermenter as shown in the above photo.
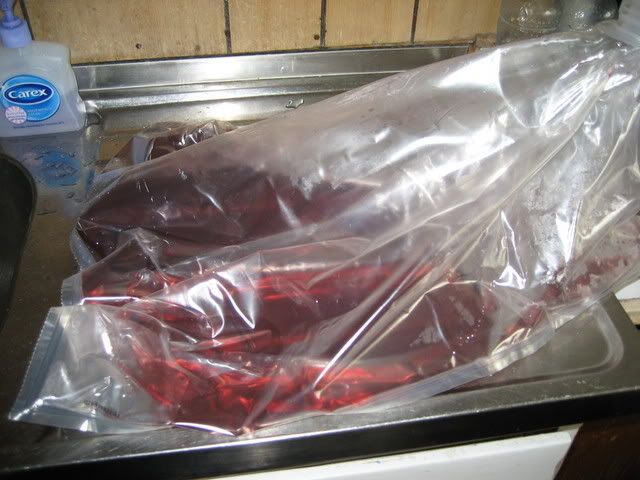
Always rinse the bag out with warm water,
this photo shows that there is still a fair amount of juice left in the bag. If this kit had required sugar,
I would have mixed the amount required with boiling water and added it at this stage.
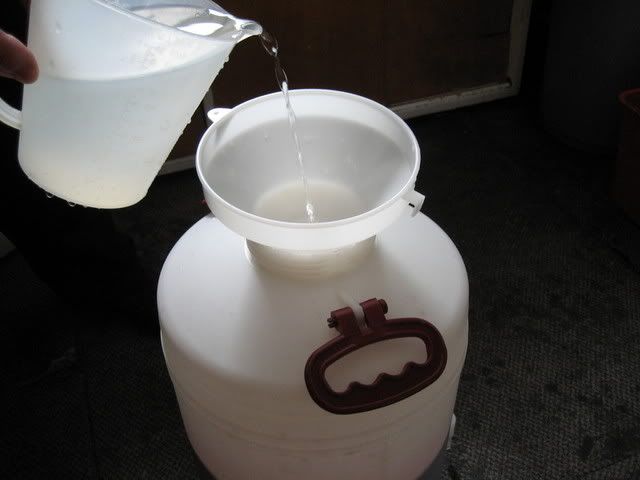
The next stage is to top up using cold water
to 5 gallons (30 bottles) I use filtered water from a Water Gem system on all my brews.

This kit comes with a sachet of oak chips,
ideal for giving the effect of maturing in an oak cask. Although I recommend that they are added to the wine, if you
don't think it will be to your taste you don't have to add them.
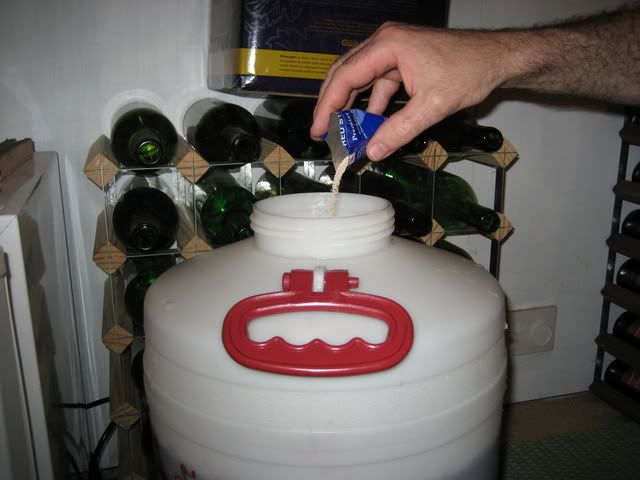
The next step is to add the yeast as shown
above, before doing so you may wish to check the temperature of the wine to make sure that it is between 18c-24c. As
a rough guide if you choose not to, the fermenter must not feel warm to the touch.
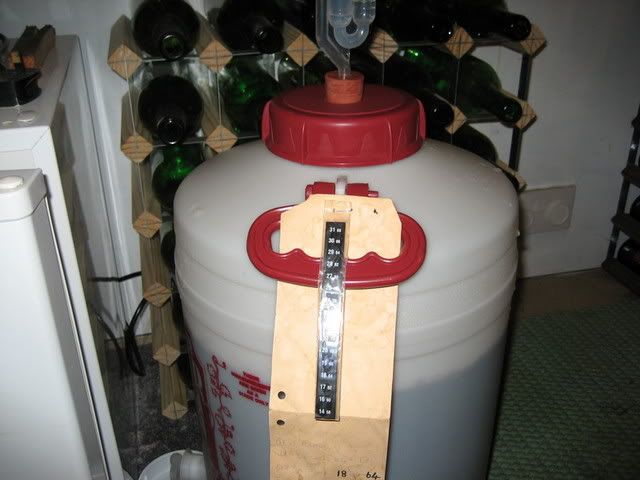
Screw the cap onto the fermenting bucket
and half fill the airlock with water. I also slip a thermometer over the bucket handle for easy temperature checks;
maintain the temperature between 18c-24c for the best results.
Yes,
it is really that straightforward to start a quality wine from a kit, the following pages will show the fermenting,
clearing, filtering and bottling stages.