The kit to be used is a Muntons Export Pilsner, a 1.8 kg size
from the connoisseur range which makes 40 pints (5 gallons). If you wish to make beer from a kit the procedure is the
same. This kit requires 1 kg of sugar to be added. As an alternative to sugar, spraymalt is available in 500g
packs; it is available in hopped, wheat, light and dark. This will give a brew a richer, malty flavour. Glucose
brewing sugar is also available. Granulated sugar can also be used, if you choose to do so I recommend that you use Tate
& Lyle sugar, it is cane sugar which is better suited for brewing compared with beet sugar. I have decided to use
glucose brewing sugar in this brew.
The
first step is to sterilise all the equipment which is going to be in contact with the brew, e.g. the fermenting bucket, paddle,
funnel, etc. I use Ritchie’s combined steriliser and cleaner, add the steriliser at the rate of 1 teaspoon
of the powder to 1 gallon of hot water. After around 30 minutes drain and rinse thoroughly with cold water.
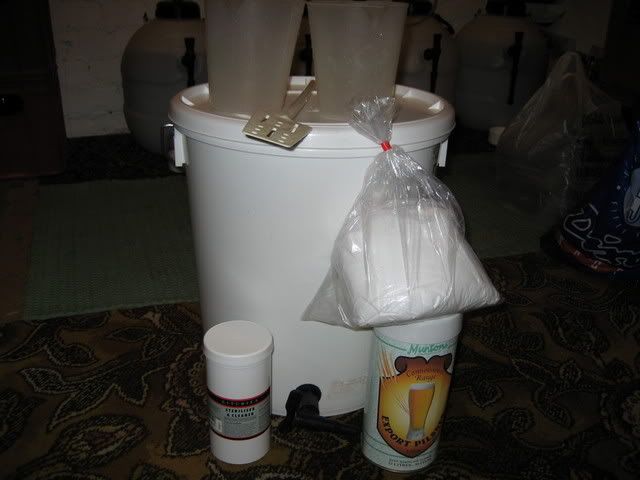
The above photo shows the kit, sugar, fermenting bucket, paddle
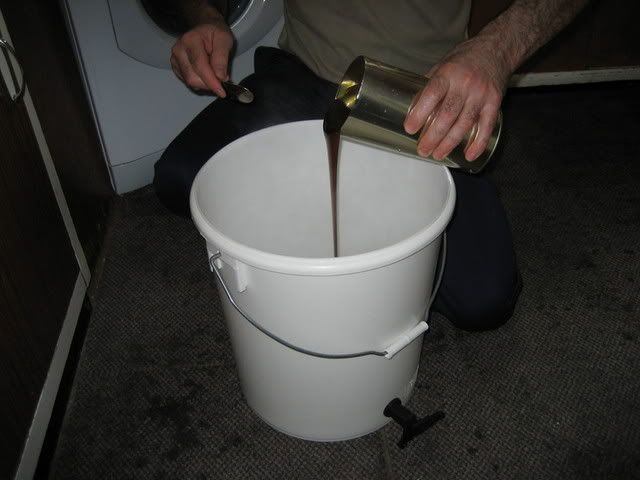
and steriliser used to make this kit. After sterilising and rinsing, the next step is to boil 6 pints of water
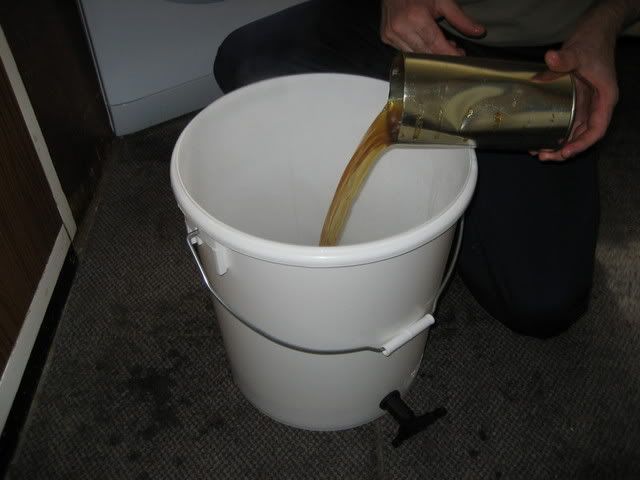
and add it to the fermenting bucket. At the same time, remove the label from the kit and stand the can in hot water,
this softens the malt inside the can and makes it easier to pour, as shown in the photo below.
The next step is to soak the can with hot water and stir well as
a fair amount of malt will remain in the can, use some of the boiled water in the fermenting bucket.
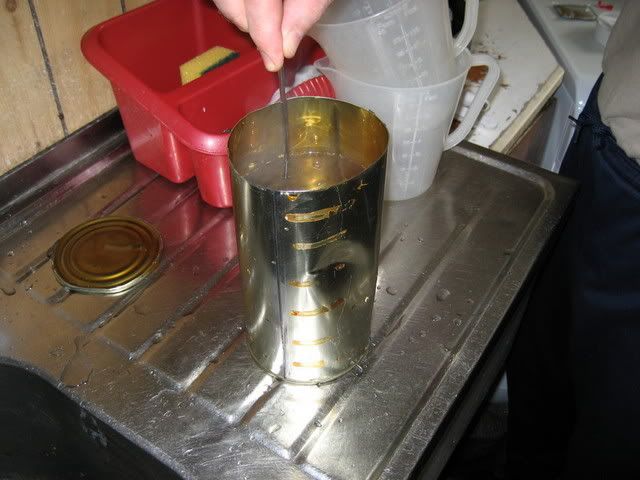
As you can see in the photo below, you will get the remainder of
the malt out of the can easily with this method.
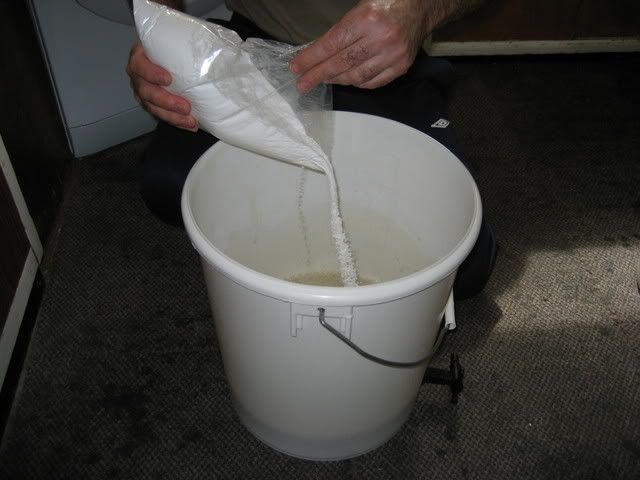
The next stage is to give the malt and water a good stirring, ensure
that all the malt is dissolved in the water; this may take a few minutes to do. When that is done add the sugar and
give it another good stir to dissolve all the sugar.
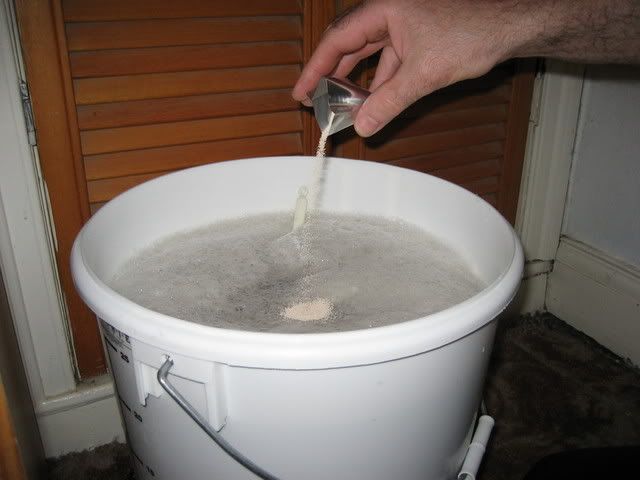
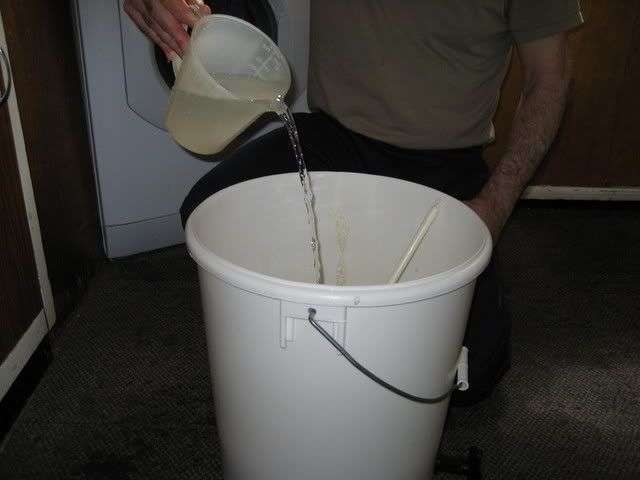
The next stage is to top the fermenting bucket with cold water
to make up to 5 gallons, I use filtered water from a water gem filter.
After topping up to 5 gallons, the next stage is to add the yeast.
You may wish to check the temperature of the brew before adding the yeast to check that it is between 18c-22c. As a rough guide if you choose not to, the fermenter must not feel warm to
the touch.