Fly sparging is the process which rinses the grains, extracting the remaining malt from
the grains. As with most stages of all grain brewing, there are other options of fly sparging than mine, I choose to
use a sparging arm and a 3 tier set up. This is my usual method of sparging.
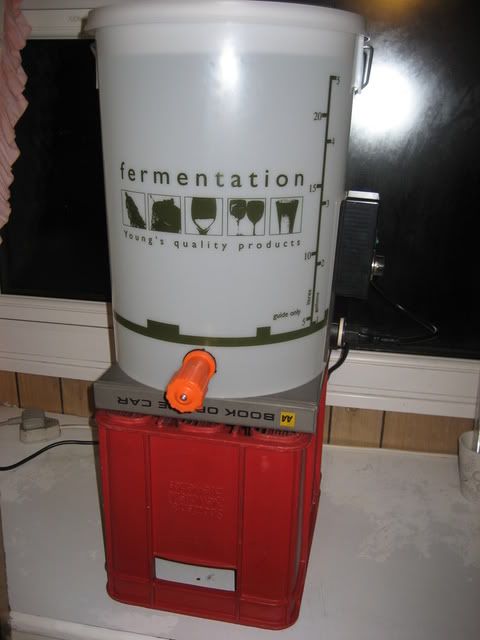
About 30 minutes after the mash has started, I place the hot liquor
tun at an appropriate height and heat the sparge water up to the 80c-85c range. I always check the thermostat on
the hot liquor tun to ensure that the water is not allowed to boil. After approximately 50 minutes, the water is heated
up to the temperature which I require.
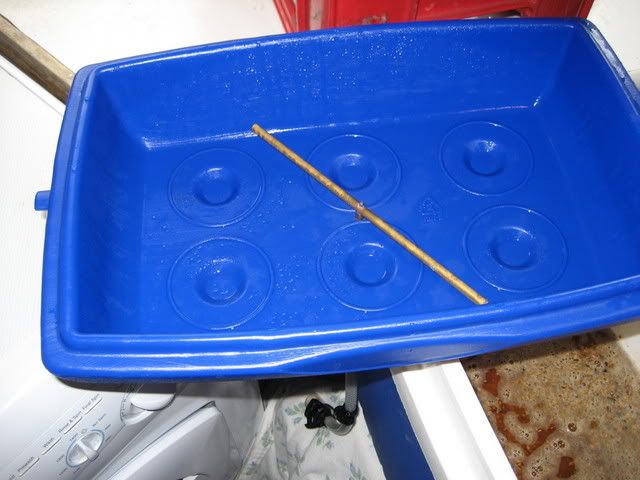
The above photo shows the sparging arm fitted to the inside of
the mash tun lid.
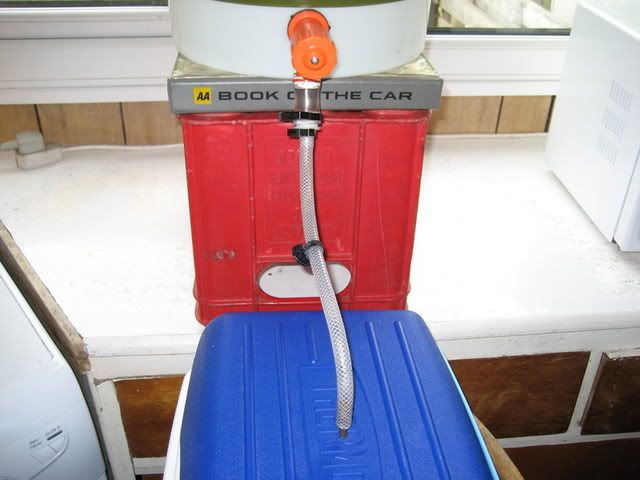
The above photo shows the sparge water connected to the sparging
arm with the appropriate tubing.
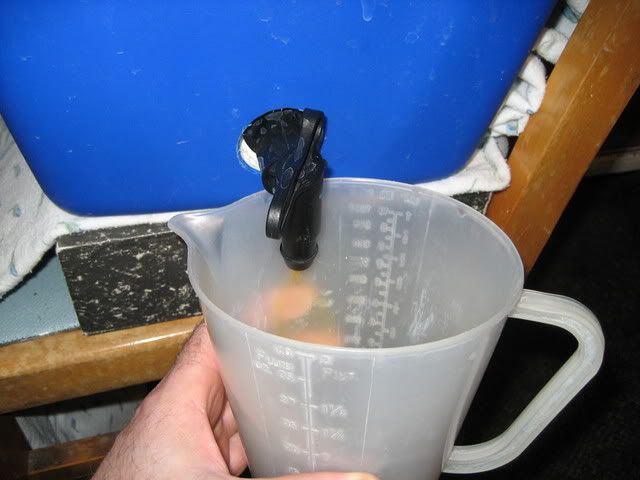
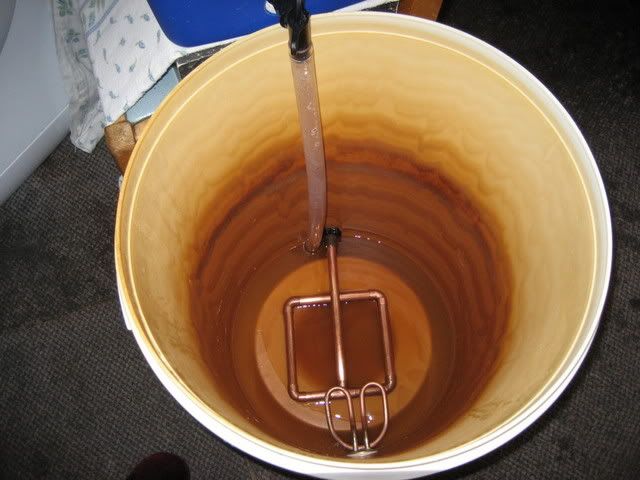
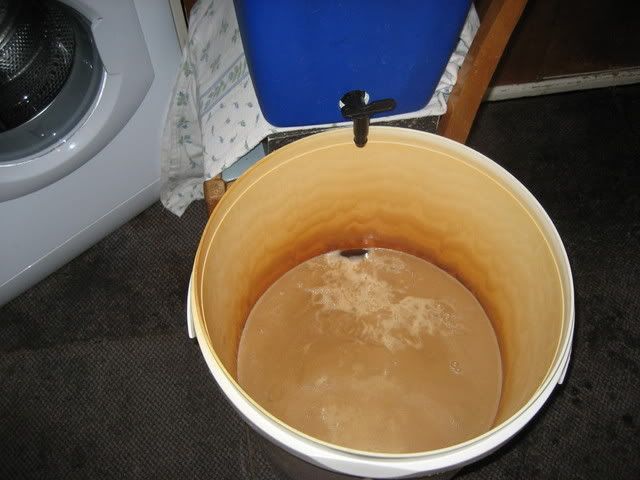
The mash time of 90 minutes is now complete. Before letting
the brew run into the boiler, I collect a jugful of wort from the first runnings as shown above, this will be cloudy but it
soon runs clear as the grains in the mash tun act as a filter bed. This jugful of the brew is then carefully
emptied in the mash tun.
Time to start running off from the mash tun as shown in the above
photo. I usually wait until the hop strainer is covered with the brew before I turn the tap on the fermenting
bucket containing the sparge water on. As soon as the heating element is covered with the wort I switch the boiler
on.
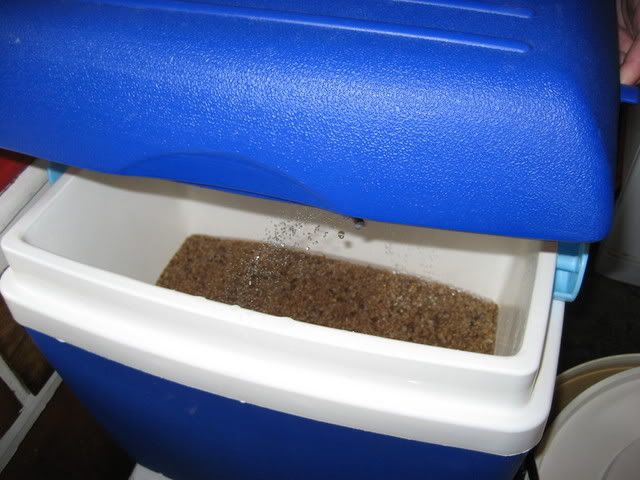
The above photo shows the spinning sparging arm in action.
Note that the water level is just above the grains, this is where I like to keep it during the run off stage, it keeps the
grains soaked therefore resulting in a efficient sparging operation.
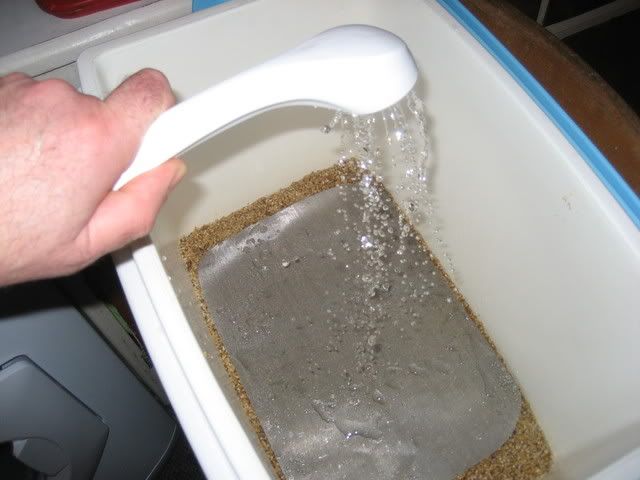
Another way to fly sparge is to attach a shower head to a length of plastic tubing, connect the
tubing to the sparge water supply, place a sheet of fine stainless steel mesh over the grains and gently sprinkle the grains
as shown in the photo. You could also use a watering can rose as well.
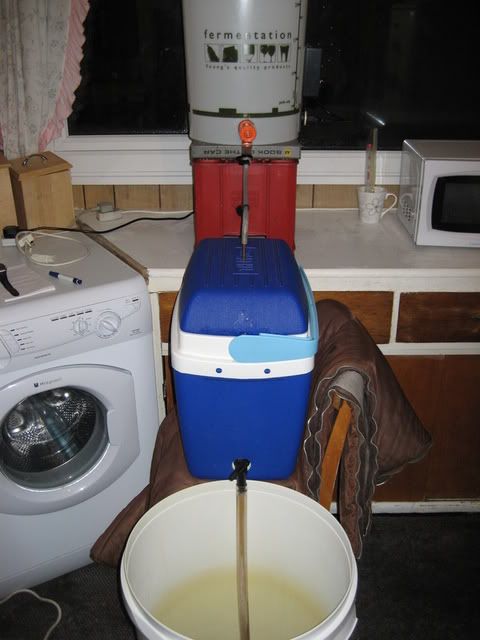
The above photo shows the 3 tier set up in action with the
sparge water in the hot liquor tun, the mash tun containing the grains and the boiler receiving the brew. At this stage
check the temperature of the sparge water, it should be around 80c-85c. If not, I adjust it by using the thermostat on the hot liquor tun.
Please note that while it is recommended to sparge the grains using water at a temperature of 77c-80c, you will lose a few
degrees using the method which I use while the water flows down the tubing and from the sprinkling effect of the water from the sparging arm. This is why I heat my sparge water
slightly warmer, to allow for this loss of temperature. As long as the temperature of the grains does not rise above
77c, you will not extract any undesirable substances from the grains.
As soon as the water level in the hot liquor tun has fell to the 5 litre mark, I switch the hot
liquor tun element off.
The above photo shows the boiler has collected the entire brew
from the mash tun after the sparging and is coming to the boil.
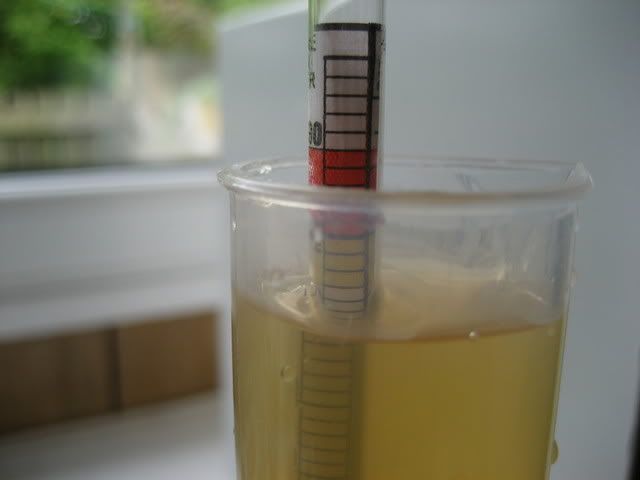
This photo shows a hydrometer reading taken from the last runnings from the mash tun. It
is important not to allow sparging to continue if you get a reading of 1.006 or below as you will end up extracting undesirable
harsh tasting substances from your grains. I took a reading of 1010, I am happy with this.