Fermenting the Wine
After adding the yeast, the wine was fermenting after 24 hours, this was evident by watching
the airlock bubbling away rapidly. All that had to be done for the first seven days is to keep a check on the temperature,
if it falls out of the 18c-24c range for a length of time you may have to consider moving the wine. This is more likely
to happen in the winter or summer, as this wine was started in April it won't be a problem.
After seven days, the airlock was slowing down slightly, as the kit instructions advise a gravity
check to be taken around the 5-7 day point; I took a reading as shown below.
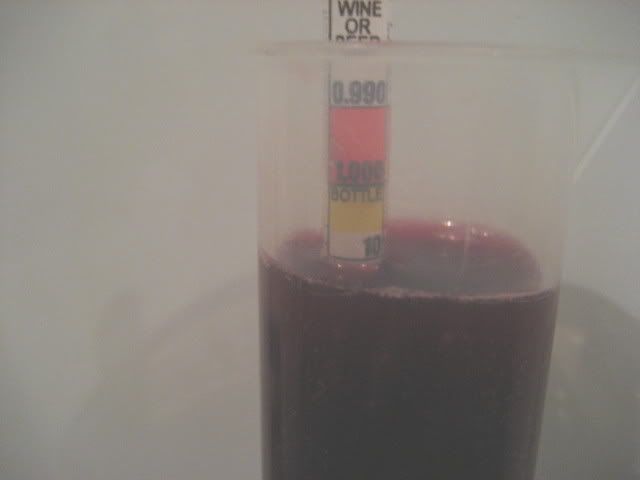
The instructions advise that the wine should be transferred to
another fermenting bucket when the gravity reaches 1010 or lower, as the above photo shows it is reading 1011 at a temperature
of 19c, I am also aware that my hydrometer reads 2 degrees less than it should after testing it, therefore the true gravity
of this wine is 1013. I took another reading 24 hours later, the gravity had dropped to 1010 and therefore I transferred
the wine to another fermenting bucket.
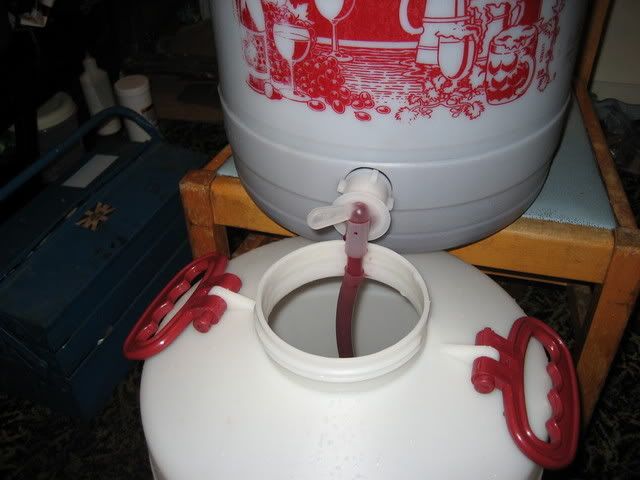
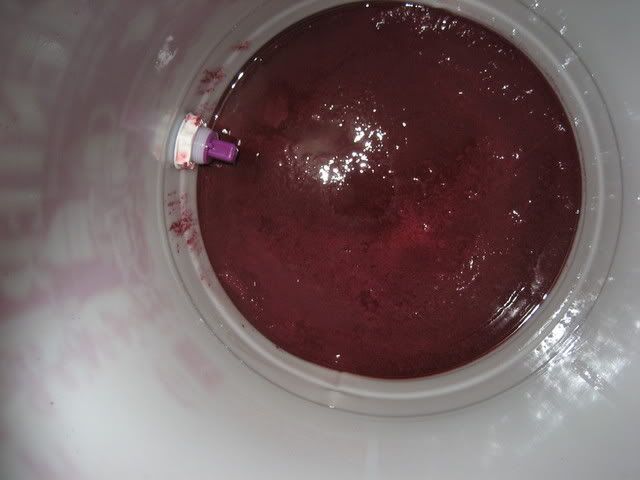
The bucket and tubing were sterilised and thoroughly rinsed, as
you can see in the above photo I pushed a length of plastic tubing onto the tap, the tubing reaches the bottom of the receiving
fermenter preventing splashing and oxidisation occurring. The next step is to let the wine finish fermenting, when this
happens the airlock will slow down to around one bubble every 2 minutes, at that stage I will take another hydrometer reading.
On the 9th and 10th day after transferring, I recorded 2 hydrometer readings of 0.994 on both
days and the airlock was no longer bubbling, therefore the fermentation was complete. The next stage is to add the stabiliser
sachets, the finings sachet and to de-gas the CO2 in the wine. A whizz stick is ideal for this task, one is shown in
the photo below.
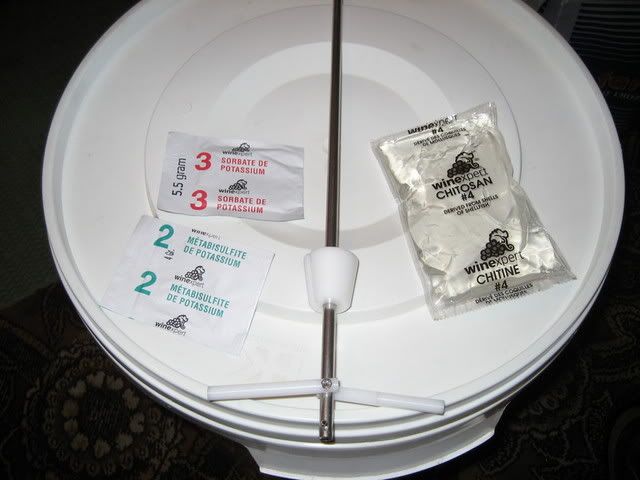
To add sachets numbered 2 and 3, simply
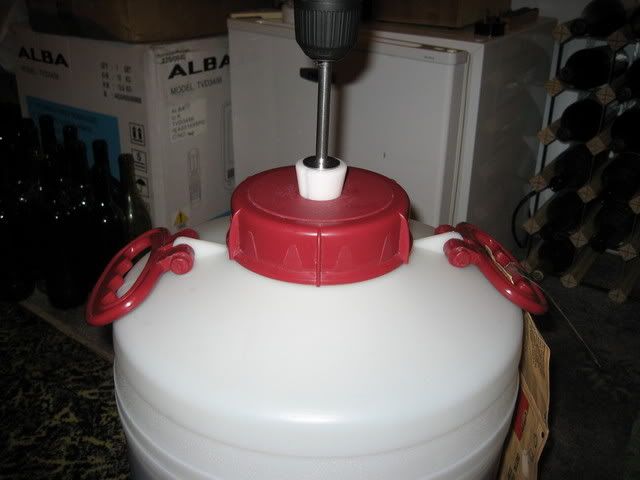
dissolve them in a small amount of cooled, boiled water then add it to the wine. Then attach the sterilised whizz stick
to a drill and place it in the cap on the fermenter as shown in the photo below, switch the drill on and let it run for about
6 minutes. This ensures that the stabiliser is thoroughly mixed and the wine is de-gassed.
Then add the contents of sachet 4 directly to the wine, which
is the finings and stir well using the whizz stick for 2 minutes.
14 days later, I checked the wine, it had cleared up nicely and a sediment had settled firmly
in the bottom of the fermenting bucket, therefore I transferred it to another fermenter after it was sterilised and rinsed.
I used the same procedure as shown in the 2nd photo on this page, taking care not to disturb the sediment in the fermenter.
The above photo shows the sediment remaining in the fermenting
bucket; the wine was successfully transferred to another fermenting bucket. I will leave this wine for a minimum of
7 days; another small amount of sediment will form in that time. If you repeat the transferring process 2-3 more times,
you will no longer have any sediment left in your fermenting bucket and the wine will be ready for bottling.
I prefer to filter the wine, please go to the next page, wine filtering.