The first step is to sterilise and rinse thoroughly with cold
water the 30, 750ml size wine bottles and the plastic tubing are used to transfer the wine to the bottles.
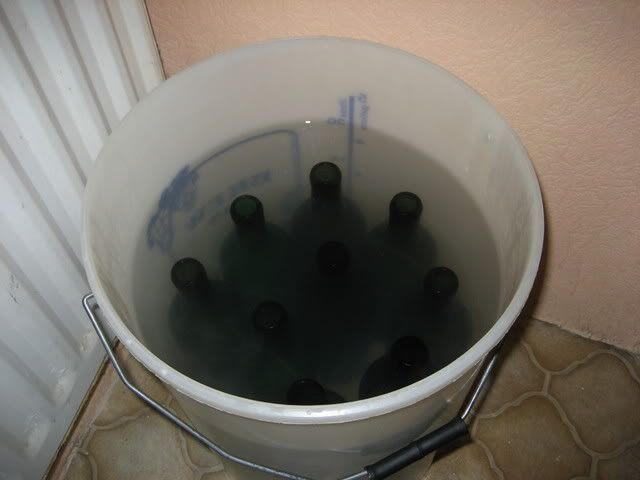
A fermenting bucket is ideal for sterilising the bottles, as shown
in the above photo. When all the bottles and tubing have been sterilised and rinsed, I am ready
to bottle the wine.
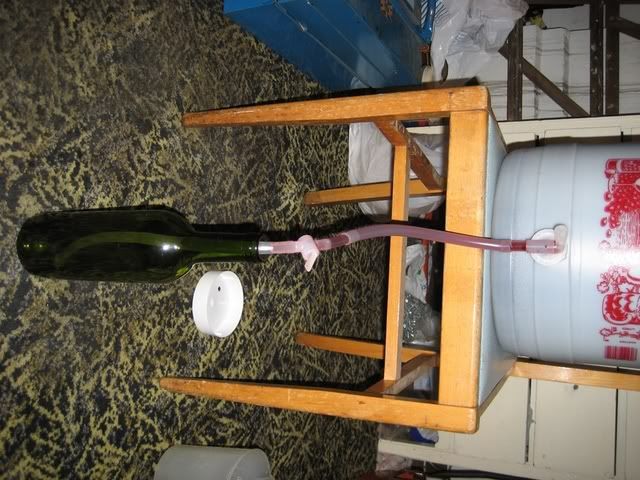
The above photo shows my bottling set up, the plastic tubing inside
the bottle reaches to the bottom of the bottle, preventing the wine from splashing and aerating. I simply turn
on the small tap which is fitted to the plastic tubing, fill the bottle to the required level, turn off the tap and move onto
the next bottle. When all the bottles are filled to the correct level I then fit the corks.

I use a two handled corking tool to cork my bottles, the corks
I use are grade 1 silicone coated, although they are more expensive than standard corks, these are much easier to use
as you do not have to soak these in hot water to soften them prior to use.
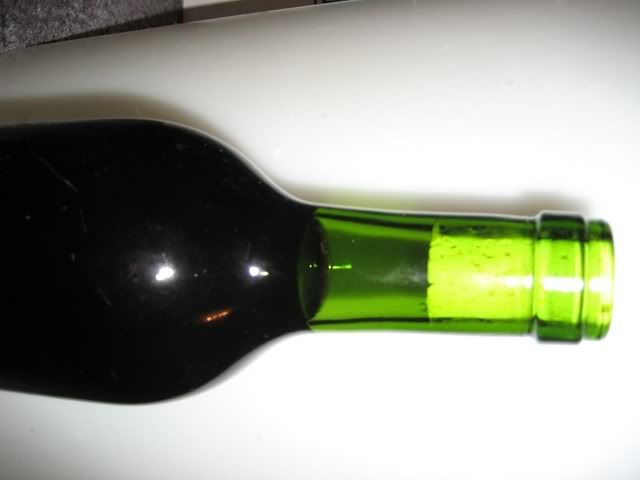
The above photo shows a corked wine bottle, note that I have
filled it so the level is slightly above the shoulder of the bottle. This is the correct level to fill a wine bottle
to; it is the same level as a commercial wine.
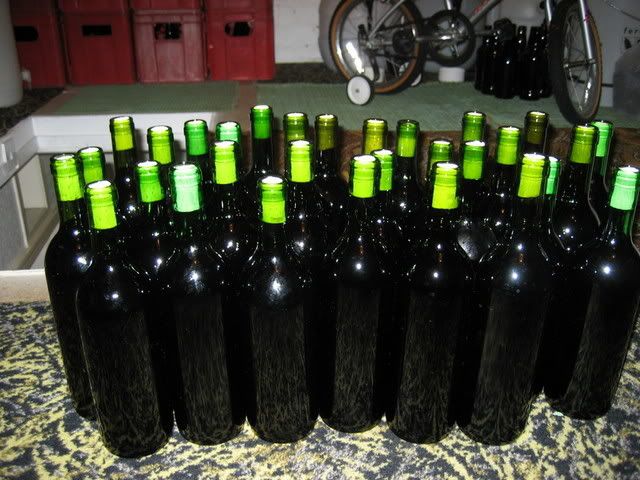
The above photo shows all the bottles after they have been corked.
I will now leave the bottles standing upright for a minimum of 3 days. This allows the corks to swell as far as possible
back to their original size, if they were laid down in a rack immediately after corking the wine may weep from the
bottles, leaving them standing upright prevents this from occurring.
Before I lay the bottles down in the wine rack, I intend to put shrink caps and labels to the bottles,
please go to the next page, Wine labels.