There are five rules to successful bottling; care must be
taken to avoid the risk of the bottles bursting due to an incorrect procedure.
1 Always check the condition of the
bottles before use, ensure that they are not cracked or chipped.
2 Use bottles which can withstand pressure,
bottles which have previously held beer will be fine.
3 Do not use too much sugar in the bottles.
I use1/2 tsp of sugar per pint bottle or 80g added to the cask as shown on the previous page as a maximum amount.
4 Do not overfill the bottles; fill
them to the same level as commercial bottles or as shown in a photo below.
5 If you bottle direct from the fermenting
bucket ensure that the fermentation is complete. Do not bottle a brew until you have taken two identical hydrometer
readings in a 48 hour period. This reading should normally be in the region of 1006-1010. If you use an all malt
3 kg kit your reading may be slightly higher.
The first step is to sterilise and rinse thoroughly with cold
water the 40, 1 pint (500 or 550 ml) size beer bottles, the crown caps and the plastic tubing which
is used to transfer the beer to the bottles.

A fermenting bucket is ideal for sterilising the bottles, as shown
in the above photo. When all the bottles, crown caps and tubing have been sterilised and
rinsed, I am ready to bottle the beer.
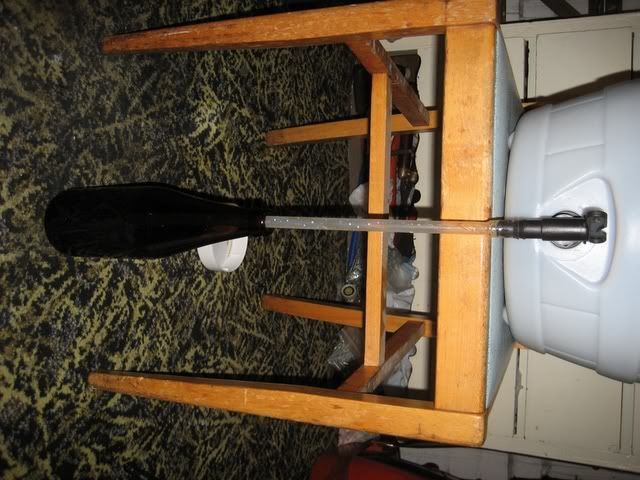
The above photo shows my bottling set up, the plastic tubing inside the bottle reaches to the bottom
of the bottle, preventing the beer from splashing and aerating. I simply turn on the tap which is fitted to
the cask, fill the bottle to the required level, turn the tap off, then fit the crown cap and move onto the next
bottle.
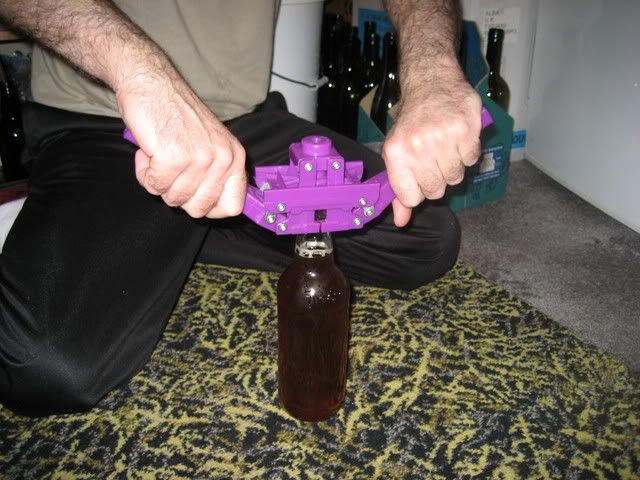
I use a twin lever crown capping tool to fit the crown caps to
the bottles as shown in the above photo.
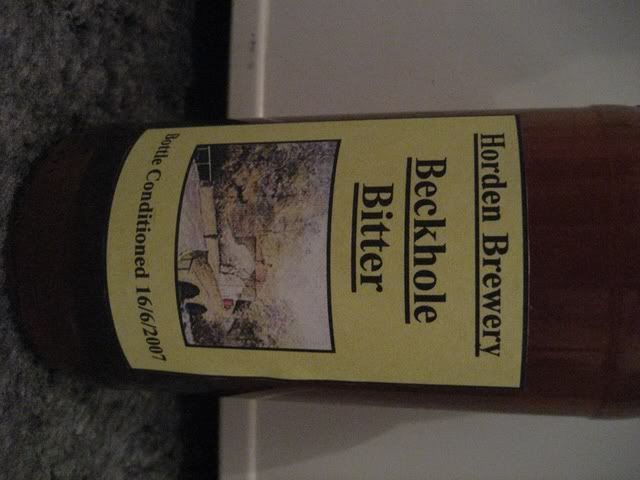
I also fit a
simple home made label to the bottles to identify the brew and show the date they were bottled as shown in the above photo.
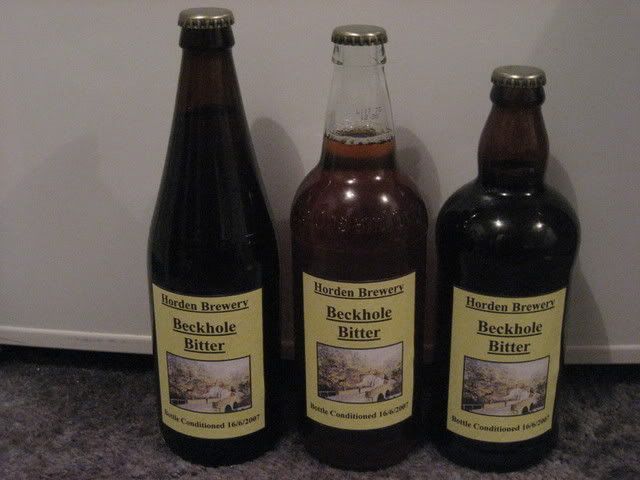
The clear glass bottle in the middle of the above photo shows
the correct level to fill the bottles to. This is the same level as a commercial brew.
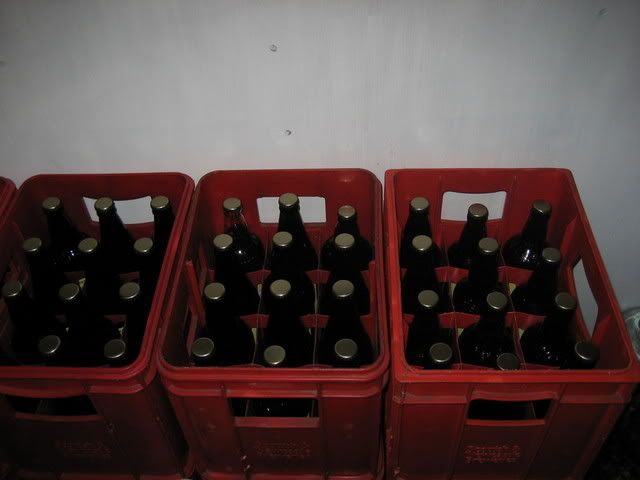
After all the bottles are capped and labelled, I store them in
crates. I recommend that an all grain brew should be left to mature for a minimum of 6 weeks before drinking it; however
it will be better to leave it longer than this to enjoy it at its best.