While the mash is in progress using the 9.75 litres of water
as shown on the calculator, I will get the sparge water heated up ready for the batch sparging stage.
I set up the three tier system in an identical manner as shown
on the fly mashing page. About 30 minutes after the mash has started, I place the hot liquor tun at an appropriate height
and heat the sparge water up to 80c. I always check the thermostat on the hot liquor tun to ensure that the water is
not allowed to boil. After approximately
50 minutes, the water is heated up to the temperature which I require.
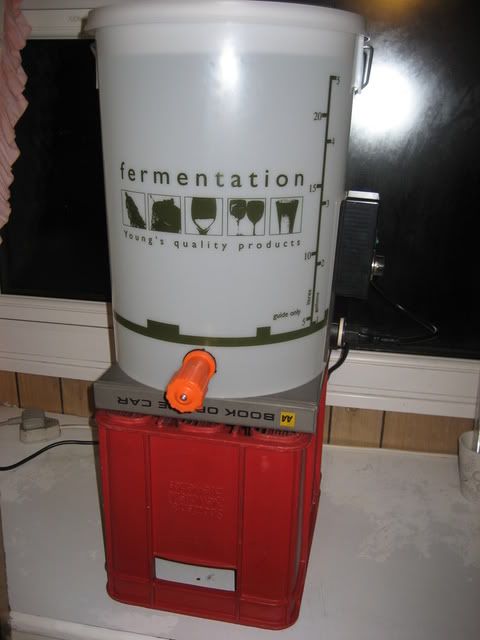
The above photo shows the hot liquor tun with the 24 litres of
sparge water being heated to 80c. After the 90 minute mash is complete, I add the first 9 litre batch of water
to the mash tun without letting any of the mash water out of the mash tun.
Using plastic tubing is an ideal way to transfer the hot water
from the hot liquor tun to the mash tun.
The first lot of sparge water is now in the mash tun. I give
the grains and water a thorough mixing and then I place the mash tun lid back on and leave the mash for 10 minutes before
running the first batch of water into the boiler.
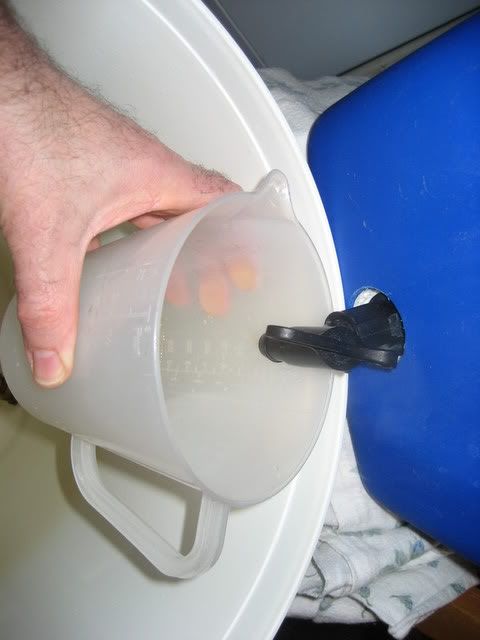
Before I run the first batch of water into the boiler, I fill
two jugfuls of wort first as these will be cloudy.
I then gently empty the jugs back into the mash tun; the grains
will filter any turbid material out, preventing a cloudy wort.
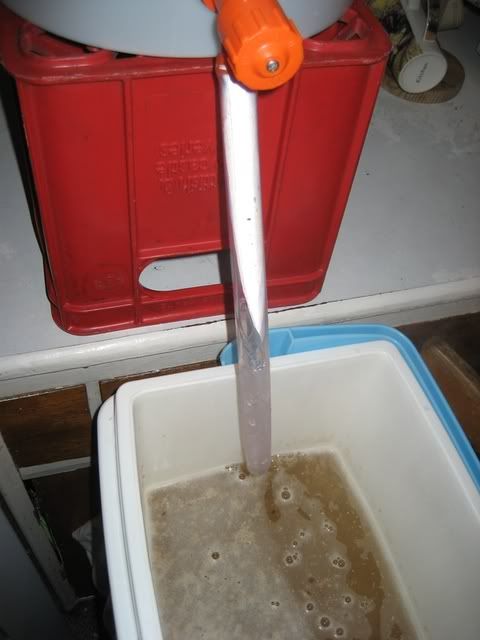
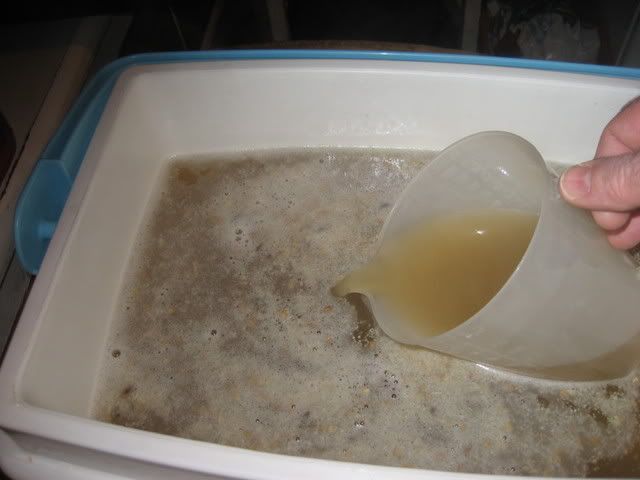
The above photo shows the wort from the first batch being
transferred to the boiler. As you can see from the photo, the wort is nice and clear. As soon as the heating elements
in the boiler are covered with the wort, I switch one of the elements on. I let all of the wort run out of the mash
tun into the boiler. Once all the wort from the first batch is transferred into the boiler, I close the mash tun
tap ready for the second batch of water.

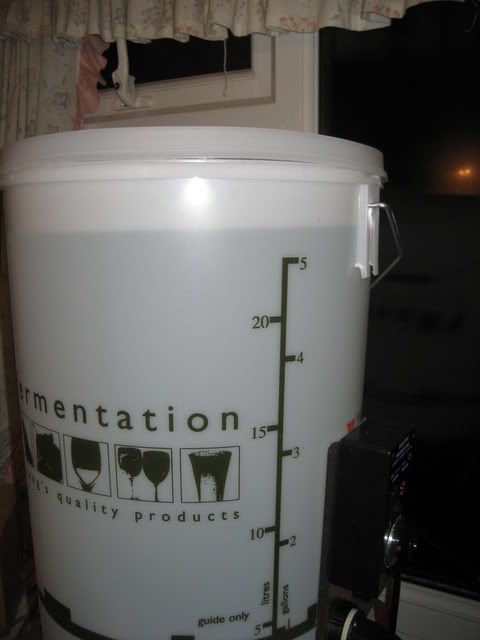
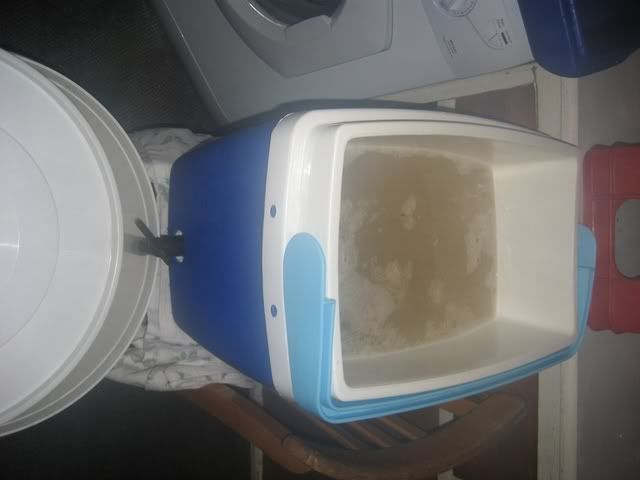
The above photo shows the second batch of the 15 litres of water.
The thermostat is set to maintain a temperature of 80c. Before I transfer the second batch of water to the mash tun,
I switch the hot liquor tun element off.

I then refill the mash tun with the second batch of water, stir
well and place the lid on the mash tun. I then leave it for a further 10 minutes and repeat the process which I did
with the first batch of water, i.e. I filled the two jugs up with the first runnings of the wort, returned them to the mash
tun before transferring the wort to the boiler.
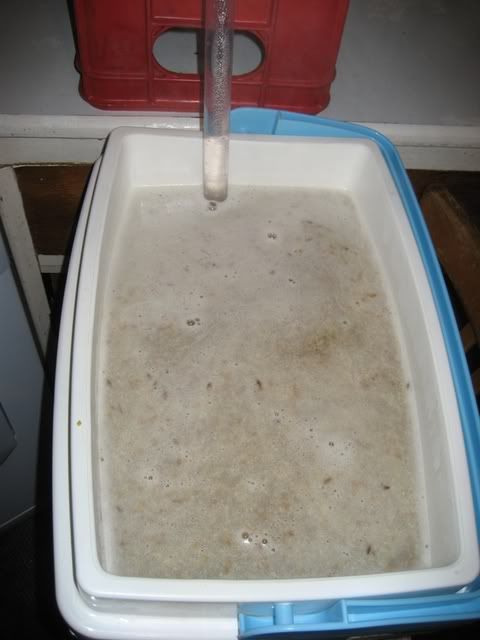
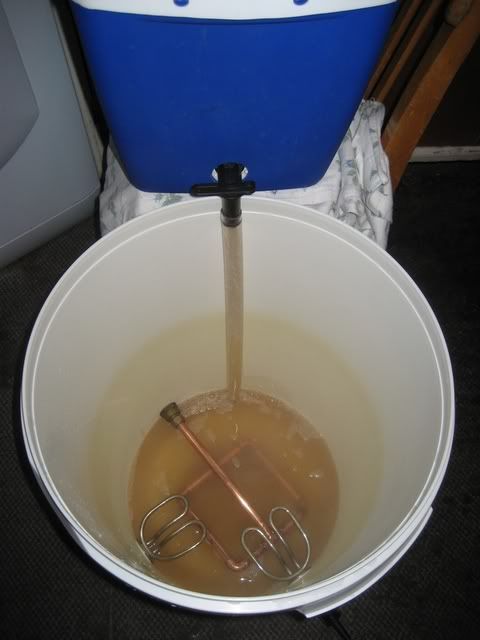
The above photo shows the second batch of water being transferred
to the boiler. As I mentioned on the batch sparging calculation page, I altered this recipe to achieve a gravity of
1042 based on 72% effiency, 23 litres. I achieved a gravity of 1041 and I am happy with that.
The next page will continue with the bitter which was made on the previous pages, the process would
have been identical for this brew as well.
Please go to the next page, boiling.