Yeast strains from Whitelabs, Wyeast and Brewlabs can cost between
4 to 5 times more than a quality dried yeast. The advantages of these yeasts is there are a vast number
of strains available to suit almost any style brew you would wish to brew.
Fortunately, there is a simple way to split a yeast into multiple starters which can work out
more economical than using dried yeast. I intend to split a Whitelabs London ale yeast WLP013 into 12 starter bottles,
therefore I will need to use a full 500g bag of spraymalt, mix and boil it in 8 pints of water and ferment in a
demijohn.
I would also use this method of splitting with a Wyeast; however if I was splitting a Brewlab
slope using this method, I would make a small starter first using the same method as I did with the dried yeast, then leave
this for 48 hours before making the yeast splitter as shown on this page.
I have adopted this method from Jim Dunleavy, the founder of the Jim's beer kit website and forums.
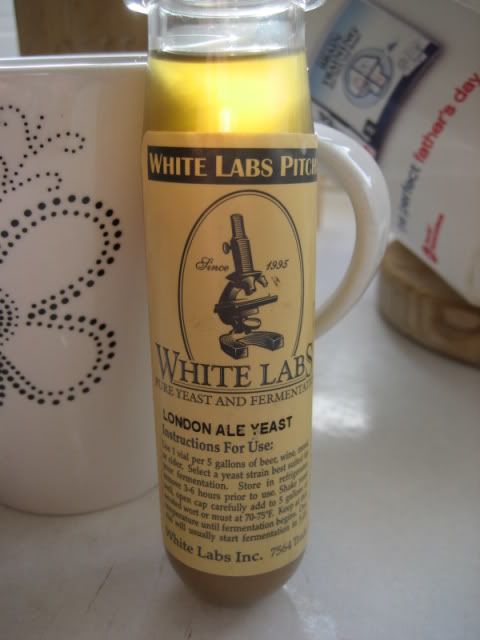
The above photo shows the yeast vial which I intend to split.
This yeast has been kept in the fridge to keep it fresh. Before I start this process, I take the yeast out of the fridge
about 4-6 hours before I open it; this allows the yeast temperature to slowly reach room temperature.
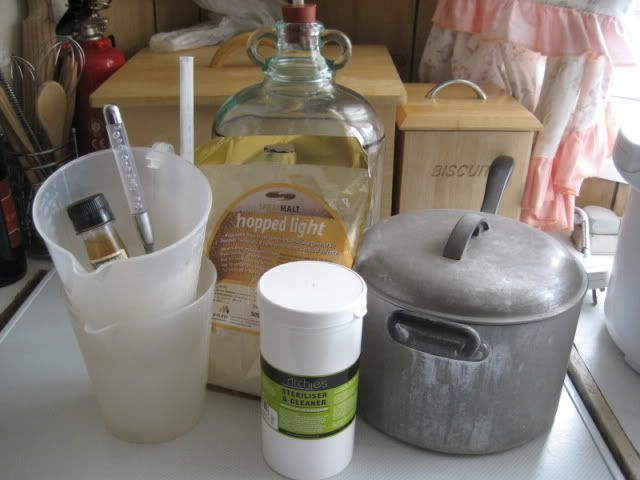
The above photo shows all the equipment, spraymalt and yeast which
I am going to use on this page.
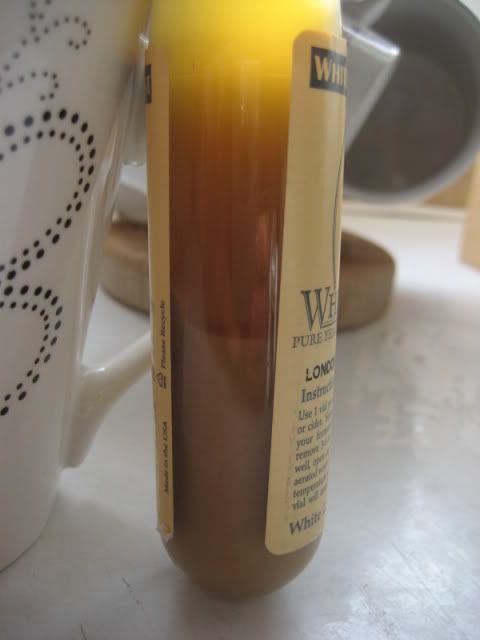
The above photo shows the yeast vial from the side. You can
clearly see the yeast in the bottom of the vial.
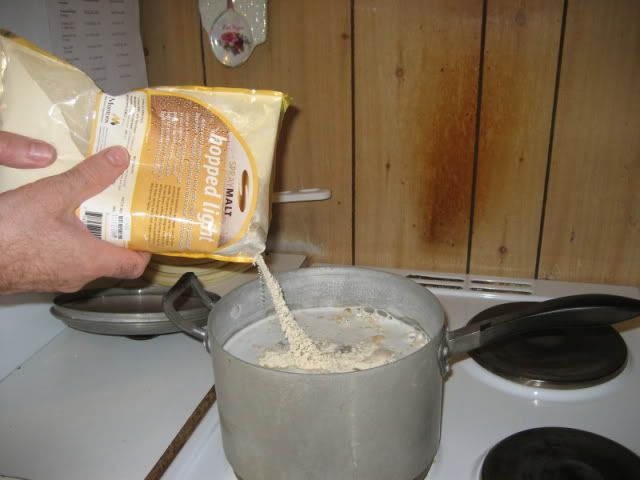
I pour 4 pints of water from the water gem filter into the pan,
heat it until it is lukewarm, then I add all the contents of the bag of spraymalt. It is best to add the spraymalt when
the water is lukewarm, this will prevent the spraymalt from "clumping".
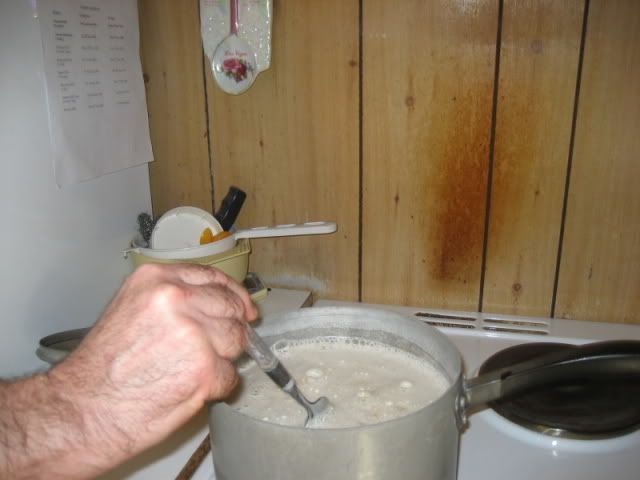
As soon as I have poured the spraymalt into the water, I give it
a thorough stir to make sure all the spraymalt has dissolved in the water.
I then bring the solution to the boil for around 15 minutes.
This ensures that the solution is sterile.
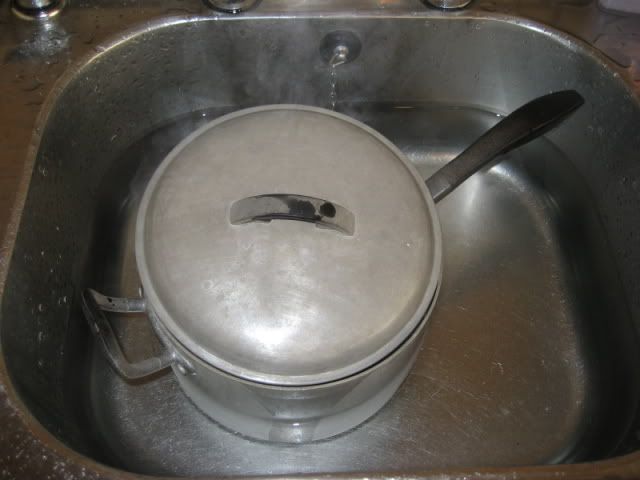
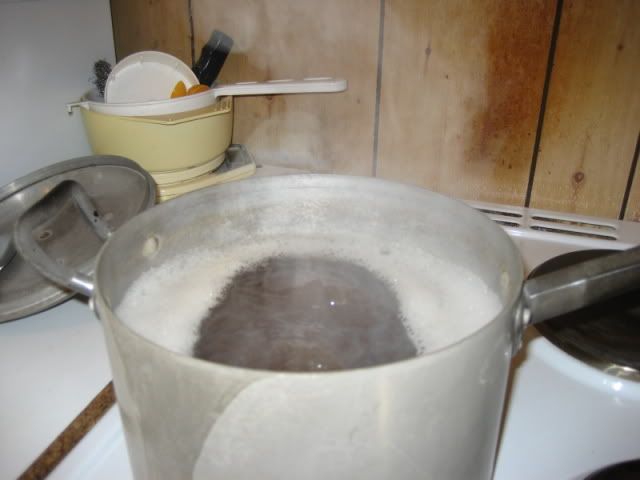
After the boil, I cool the solution down in the sink which is filled
with cold water. While this is cooling, I sterilise and rinse the demijohn, airlock, bung, spoon, the 2 jugs and
the thermometer ready for use.

As the solution has cooled down to 24c-25c, it is time to add the
yeast and transfer the solution to the demijohn ready for the fermentation. Before I took the temperature, I stirred
the solution with a sterilised spoon to equalise the temperature. As it had been cooled in the sink with cold water,
the temperature of the solution would have been cooler on the outside and hotter in the middle had I not stirred the solution.
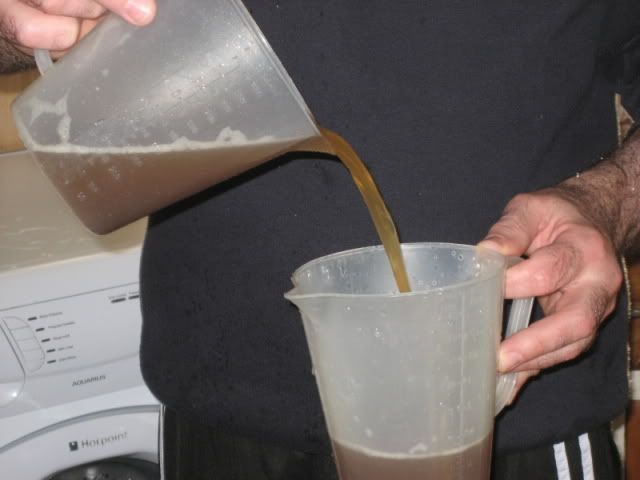
I then pour some of the solution from the pan into the jug and then
pour the solution from jug to jug to aerate the solution as shown in the above photo.
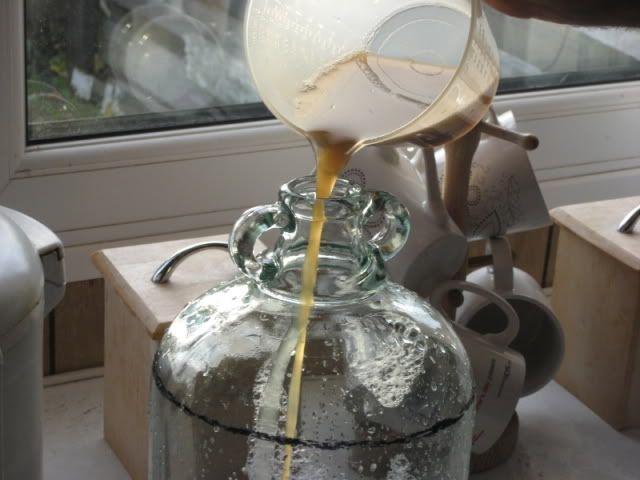
I then pour the solution into the demijohn as shown in the above photo.
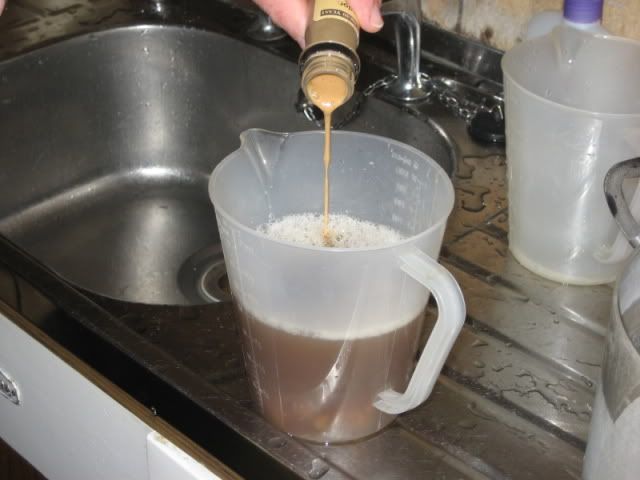
Before I pour the yeast into the solution as shown above, I gently
shake the yeast vial to give the yeast a mix with the solution in the vial.
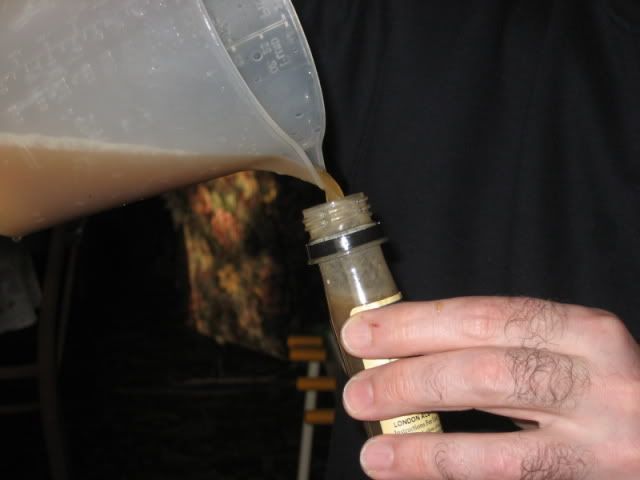
I then pour some of the spraymalt solution into the vial to rinse the vial out and to ensure that
I get all the yeast out of the vial.
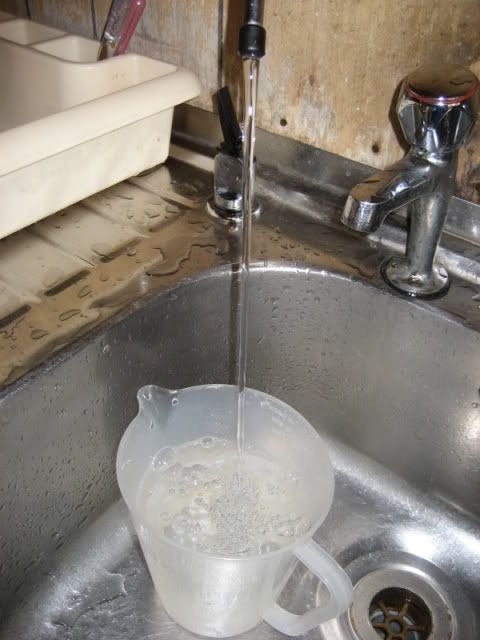
I then top the demijohn up to 8 pints using water from the water
gem filter. This water was also boiled for 15 minutes, cooled to 20c and aerated just in case there was any bacteria present
in the water.
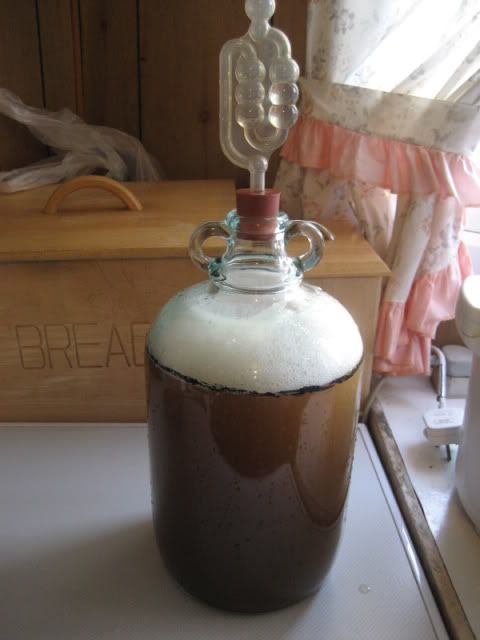
The demijohn is now toped up to 8 pints, as you can see I have
marked the demijohn with a black felt pen circle; this is the 8 pint mark. It is also well aerated which is obvious
from the amount of white foam on the surface of the solution. It is now ready to be placed at a temperature of between
18c-22c to be fermented.
Please go to the next page, fermenting the Whitelabs yeast.