All that has to be done while the brew is fermenting is to keep a check on
the temperature, if it falls out of the 18c-22c range for a length of time you may have to consider moving the brew. This
is more likely to happen in the winter or summer, as this brew was started in May it won't be a problem. I
intend to use the dropping system on this brew; this is simply transferring the brew to another fermenting bucket around 48
hours after the brew has been fermenting. This is not essential, but will leave the brown substances (trub) in
the brew behind; alternatively you could skim them off with a clean spoon or paddle.
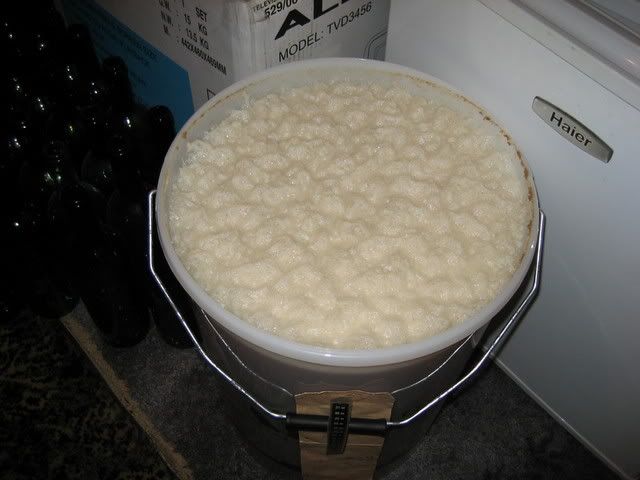
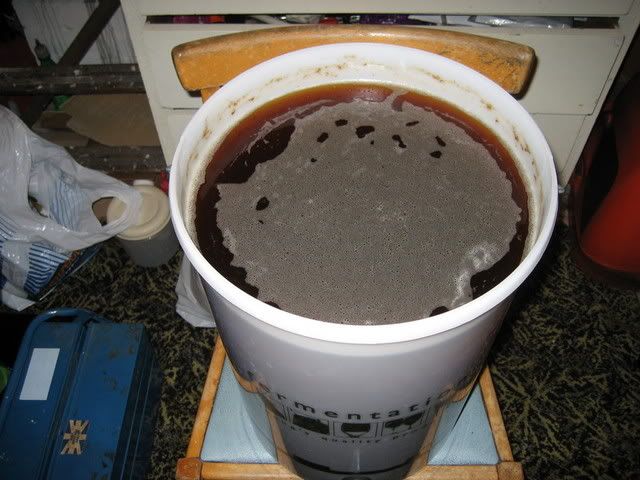
The above photo shows the brew 20 hours after the yeast was added,
as you can see the fermentation has started rapidly, showing the benefit of thorough aeration and using a yeast
starter.
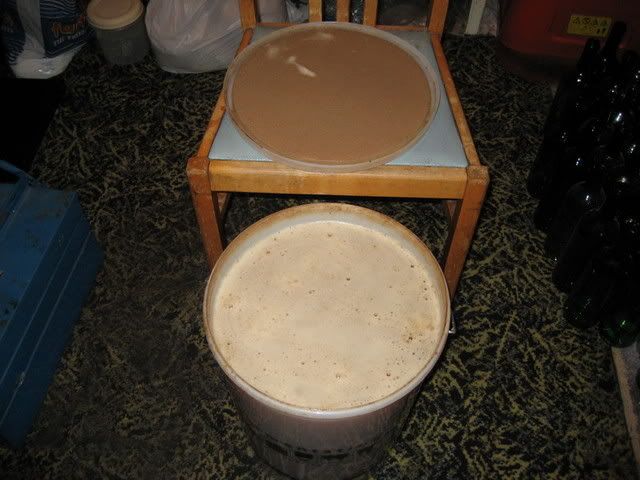
The above photo shows the brew 48 hours after adding the yeast,
as you can see the initial foaming is easing off; this is when I choose to transfer the brew to another fermenting bucket.
It leaves any trub formed behind in the original fermenting bucket. Most of the brown trub is stuck on the fermenting
bucket lid due to a very lively fermentation, however there is a possibility that some may be on the bottom of the bucket
along with cold break material.
After sterilising and rinsing thoroughly a fermenting bucket and a length of plastic tubing,
I am ready to commence dropping the brew.
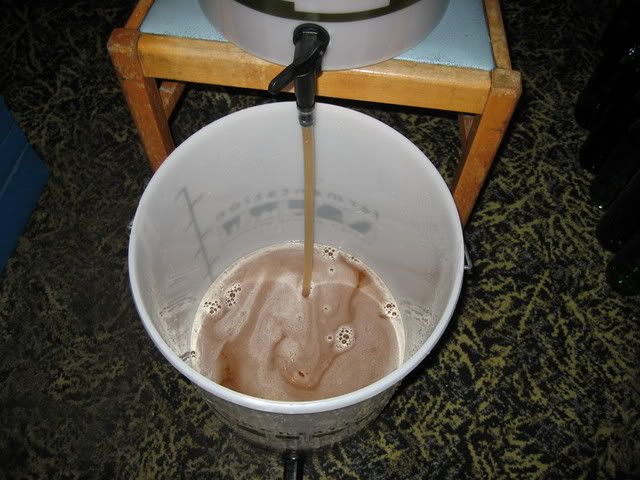
The above photo shows the dropping system in action; note that
the tap is only partly open; this ensures a slow transfer of the brew. Also ensure that the plastic tubing which
is pushed onto the tap reaches the bottom of the collecting fermenting bucket, these measures prevent aeration occurring.

The above photo shows the sediment left behind in the bucket,
there is a mixture of yeast and cold break material in there, the yeast is the lighter colour of the two.
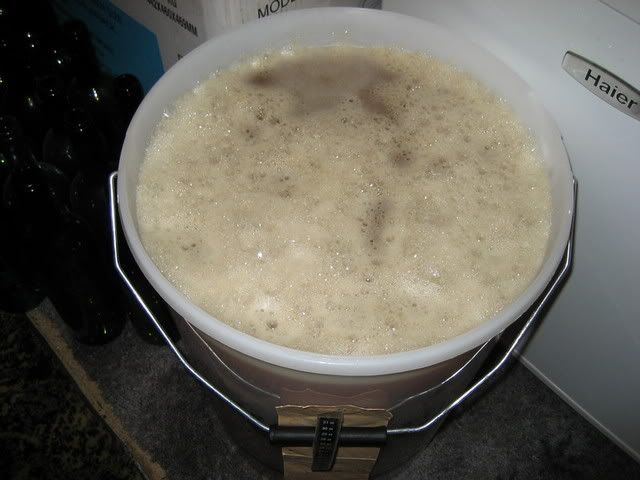
The above photo shows the brew 3 hours after transferring, a new
yeast head has quickly formed.
The above photo shows the brew after 7 days fermentation, the yeast
has sank to the bottom of the fermenting bucket and there are only a few bubbles left on the surface of the brew. The
fermentation will probably not be complete for another 24 - 48 hours, as I intend to bottle this brew I will now transfer
the brew to a 5 gallon budget pressure barrel for secondary conditioning, known as cask conditioning.
Please go to the next page, cask conditioning.