Filtering wine is not essential, if you transfer it 2-3 times
more as shown you will get rid of any further sediment, I prefer to transfer the wine once then filter it to give it a final
polish. If you filter a 5 gallon kit, please allow plenty of time to do so, this transfer took over 2 hours.
Please do not attempt to filter a wine unless it is clear, you will clog up the filter pad in
no time and will have to start again.
The wine filter I use is the Harris Vinbrite Filter, it is straightforward to use and instructions
are included with the filter.

The above photo shows the filter stripped down, the filter pads
and plastic tubing. Sterilise and rinse these parts thoroughly apart from the filter pad, along with the fermenting
bucket used to collect the filtered wine.
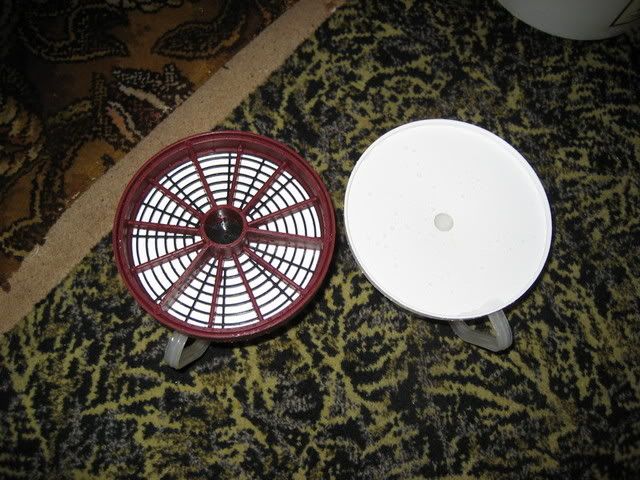
The above photo shows the top half of the filter with the pad fitted
on the left, the base which is on the right simply snaps onto the top half.
After assembling the filter, the first step is to run a gallon
of cold water through the filter. This removes any loose particles in the pad and also swells it, making it ready for
use.
I also push a length of plastic tubing onto the filter outlet; this reaches the bottom of the collecting
fermenting bucket preventing oxidisation.
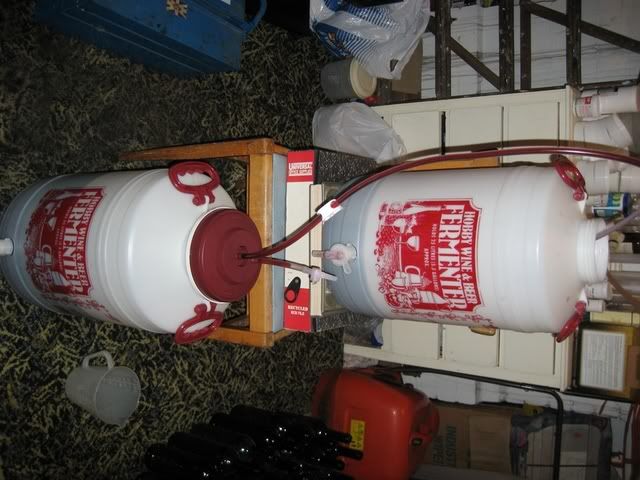
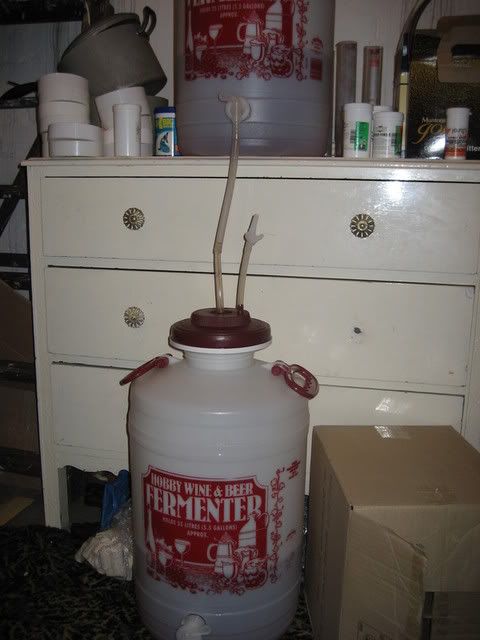
The above photo shows the filtering stage in action.
To start the filtering, suck on the length of tubing which fits
on the wine filter inlet, use the white flow control clip on the tubing to stop the wine flow when it is running
down the tubing, give the end of the tube you have sucked on a rinse in a jug of water, push the tubing onto its post in the
centre of the filter body, ensure that the tap on the short piece of tubing is closed, then release the flow control clip
and the filtering will start. After a few minutes, slowly open the tap on the end of the short piece of tubing,
the wine will rise up it, close it again before it reaches the tap. This acts as a vent, it will prevent air from being
trapped in the filter body which could cause the filtering to stop. If the wine is flowing into the filter quicker than
it is coming out the outlet, you may see the wine weeping from the filter base joint, if this happens simply click
the flow control clip on the inlet tubing; this will slow the flow rate down.
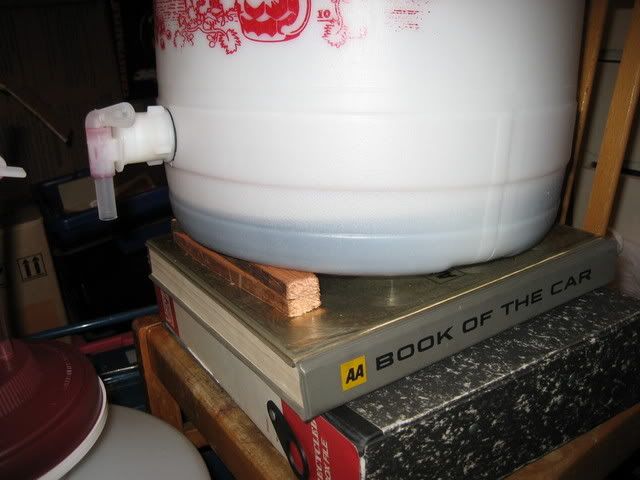
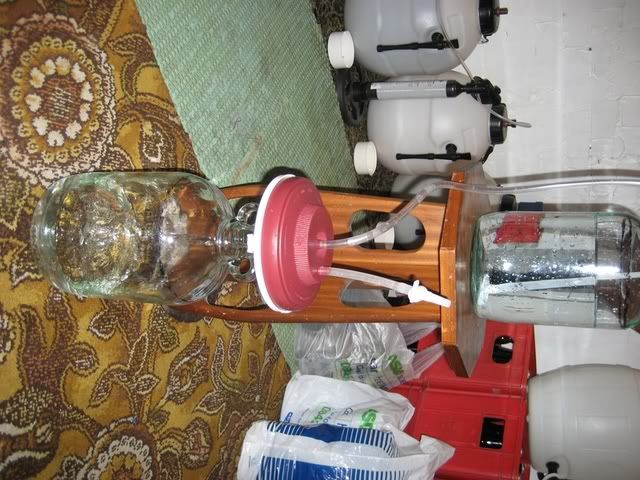
When the wine is almost transferred, I carefully lean the fermenting
bucket backwards and place a wedge under the front of it; this allows the U bend to collect all the wine, as showed in the
above photo.
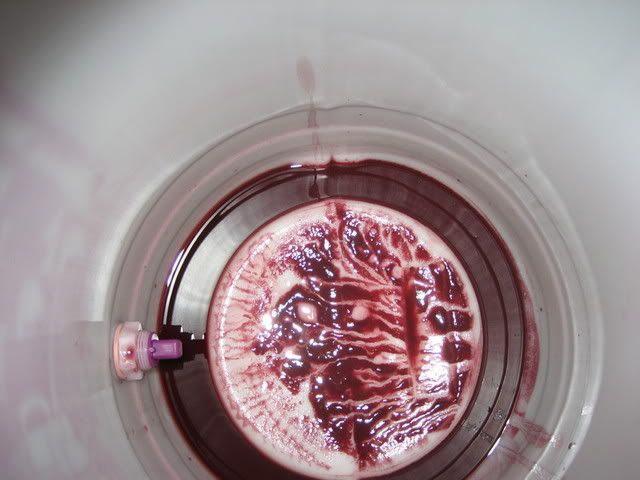
The filtering is now complete; there is a small amount of sediment left in the fermenting bucket.
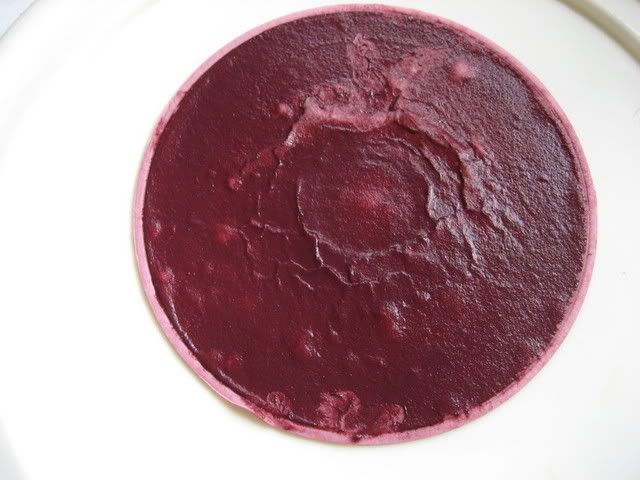
The above photo is the discarded filter pad, as you can see it
has done its job. There is a mixture of sediment and fine particles of oak chips on there.
As this wine is to be left a minimum of 6 months, I added 1/4 tsp of campden powder to a small
amount of cooled, boiled water, mixed well and added this to the wine. This is recommended in the kit instructions as
the kit contains a very low sulphate level.
I will leave the wine a minimum of 48 hours before I bottle the wine, this will allow the extra
sulphate time to mix with the wine.
Update.
As an alternative method of using a u-bend and extension, I will show you a simple way
to connect the wine fermenting bucket containing the wine to the filter.
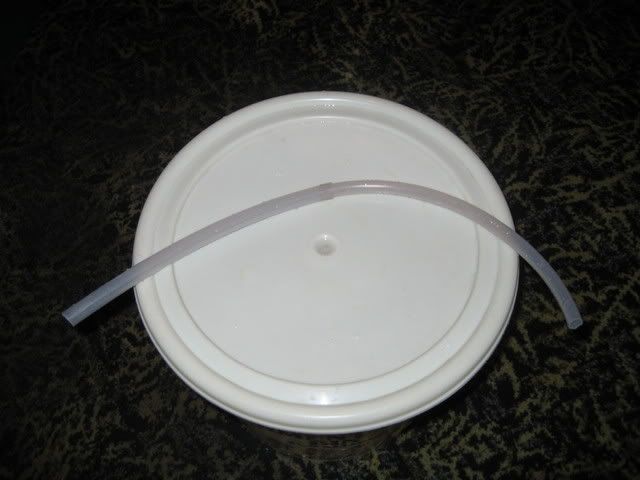
Push a length of 8mm plastic tubing into a length of 6mm plastic
tubing as shown in the above photo.

Cut the tubing to the correct length required, push the 8mm tubing
onto the fermenting bucket tap containing the wine and push the 6mm tubing onto the wine filter inlet. The wine
can then be filtered in an identical manner as shown above. You can see in the above photo that I have only slightly
opened the tap; this will prevent the wine entering the filter body too quickly, therefore preventing the wine from weeping
from the filter base joint.
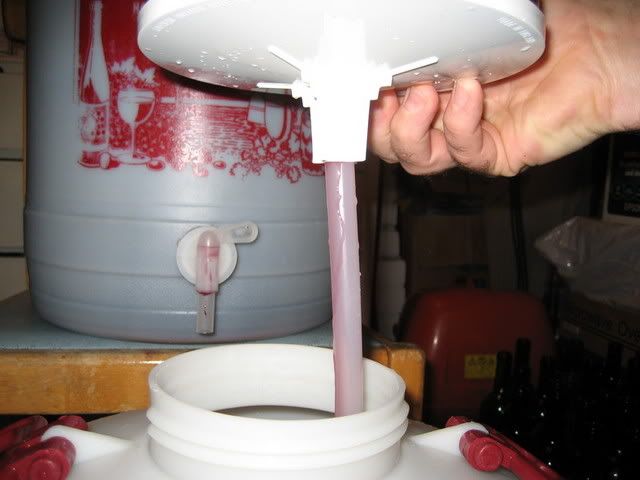
The above photo shows the filtering in action using the alternative
method.
Please go to the next page, bottling the wine.