UK-Homebrew

All Grain Brewing Introduction

Home
My equipment
Beer & Lager options
Making lager from a kit
Lager kit progress
Barrelling the Lager kit
The Finished Lager
Wine making options
Making wine from a kit
Wine kit progress
Filtering the wine
Bottling the wine
Labelling the bottles
The Finished Wine
All Grain Recipes
All Grain Brewing Introduction
All grain equipment and sterilising
Dry Yeast Starter
Splitting a Whitelabs yeast
Fermenting the Whitelabs yeast
Bottling and storing the Whitelabs yeast
Whitelabs yeast starter
Water Treatment
Mashing
Sparging Options
Fly Sparging
Batch Sparging Calculations
Batch Sparging
Boiling
Cooling
Aerating
Fermenting
Cask conditioning
Bottling
The finished beer
Storing my brews
General Information
My previous brews
Links


This page and the following pages will show the all grain process in detail.


Photo Sharing and Video Hosting at Photobucket

 
At first glance these pages may seem complex and difficult; rest assured it is a easy task to perform.  The above photo shows the notes I made when I made this brew, I always make simple notes in a similar style to record my brewing progress.  I will show here how to make a traditional bitter on these pages by giving a simple, but detailed description of my brewing procedure.  I use this process regardless of which style beer or lager I make. 
 
If you are thinking about doing an all grain brew for the first time after reading these pages, before you do so I would strongly recommend that you set your brewing system up as you would on a brewday and do a "dry run" first.  This will let you know if your brewing system will need any modifications before you use it and that all the necessary plastic tubing and connectors are available and cut to the correct length.  Also, if your first attempt at all grain brewing does not go to plan, don't worry unduly.  An all grain brew can be very "forgiving" if a brewday does not go as you intended.


Preparation
 
The first step is to choose your recipe; the one used in this process is the first one on the recipe page.


Photo Sharing and Video Hosting at Photobucket


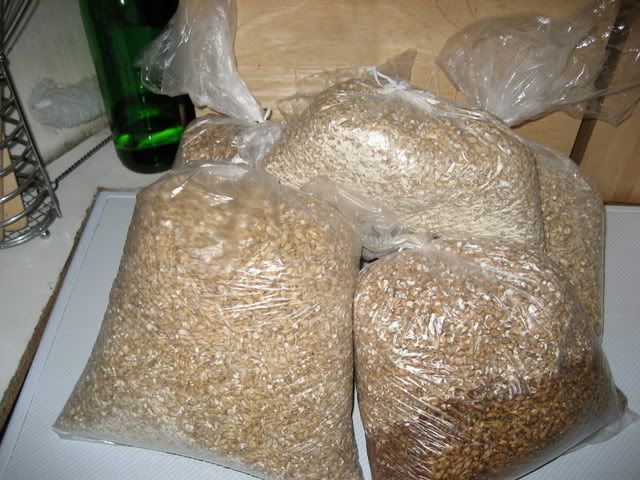
The above photo shows the grains weighed out ready for use.


Photo Sharing and Video Hosting at Photobucket


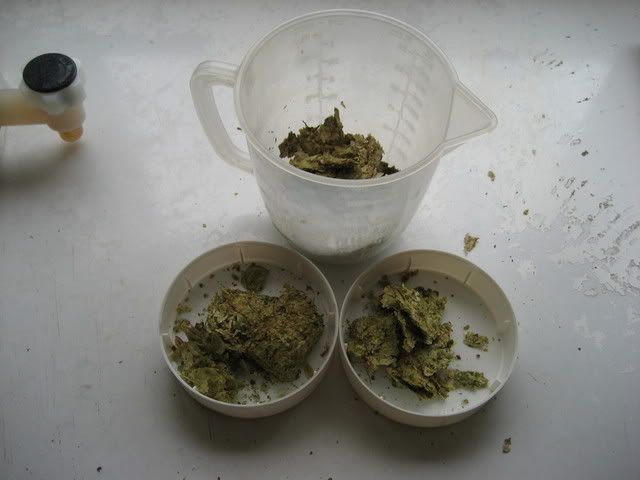
The above photo shows the hops in their foil packs ready to be weighed.  These packs are kept in the fridge.


Photo Sharing and Video Hosting at Photobucket


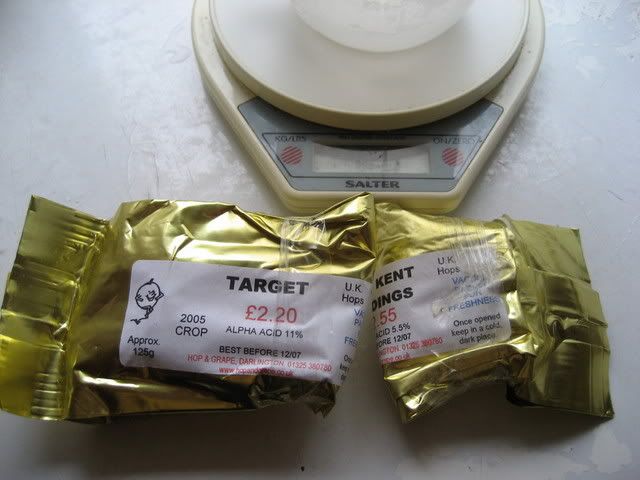
The above photo shows the hops weighed out ready for use; once these are weighed I put them in the fridge until they are required.  Please note that I do not weigh the hops out until shortly before they are needed.


Photo Sharing and Video Hosting at Photobucket


Photobucket


The above photos shows the different types of yeast I use; on this brew I will be using the Gervin yeast.  On another page I will show how I make a yeast starter, this has the advantage of the fermentation starting sooner and using "active" yeast. 

 Please go to the next page in this process which shows the equipment used and sterilising stage.


Next Page

All the information given on this website is from my own personal experiences and are well tried and tested.  However, if you try something you have seen here and it does not work out, I accept no responsibility for any loss, damage or injury that may occur.