The above photo shows the equipment used to make the starter. All the above equipment was
sterilised and rinsed with cold water before it was used.
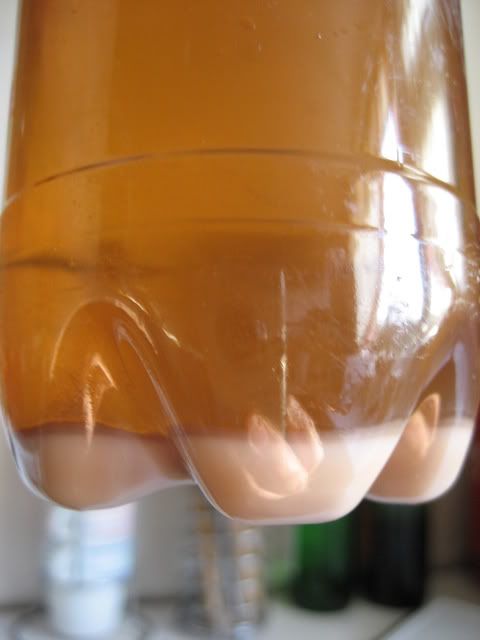
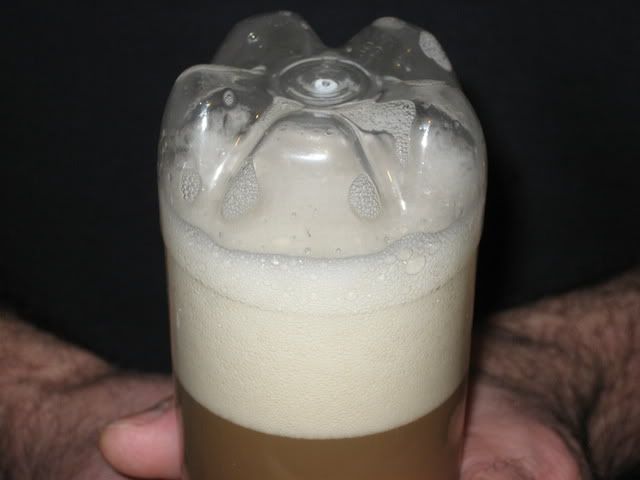
The above photo shows the yeast in the bottom of the starter bottle.
I took one of the yeast starter bottles out of the fridge about 4-6 hours before I made the starter.
This allows the bottle temperature to slowly rise to room temperature. I would normally make a starter 36-48 hours
before I need it for a brew.
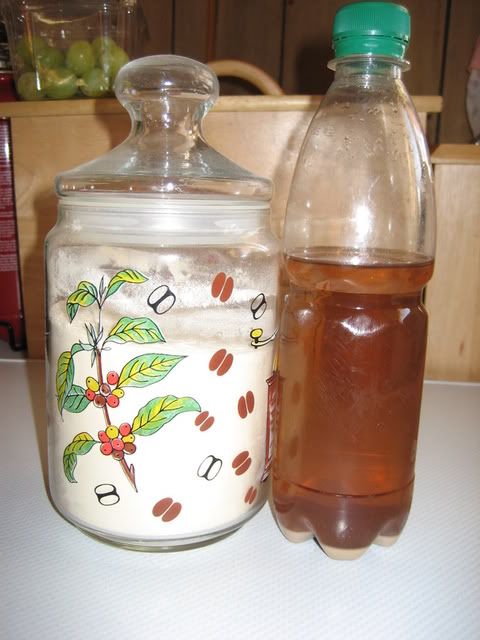
The above photo shows the bottle and the spraymalt which is used
to make the starter.
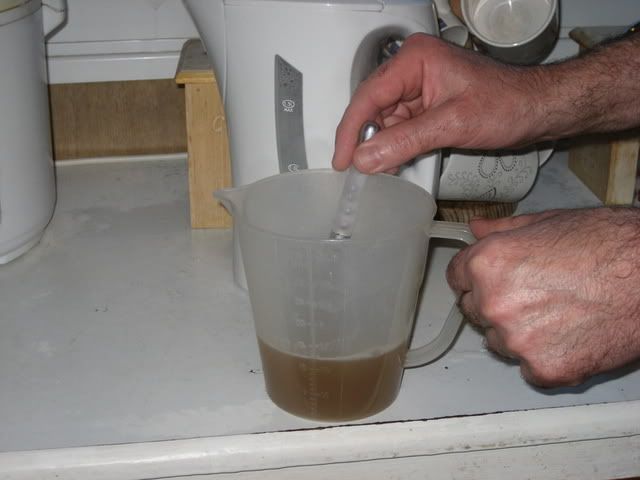
I dissolved 40 grams of spraymalt in a jug containing 300 ml of warm, boiled water.
Spraymalt mixes easier in warm water rather than boiling water, clumping may result if it is mixed with boiling water.
I then place the jug in the microwave for 1 minute on full power to bring it to the boil and sterilise the solution.
The solution is then left to cool until it is around 18c-22c. To do so quickly, place the jug in a basin
of cold water.
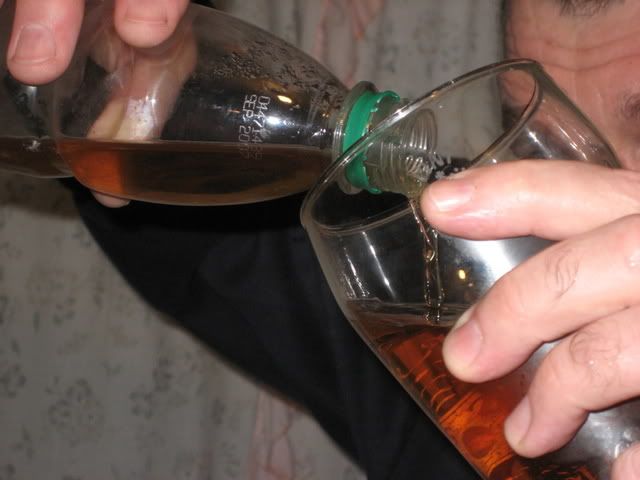
I then pour the fermented spraymalt out of the yeast starter bottle into a jug or glass
leaving the yeast in the bottle, then have a small taste of the fermented spraymalt and smell it to make sure that is
not "off". This fermented spraymalt is then discarded.
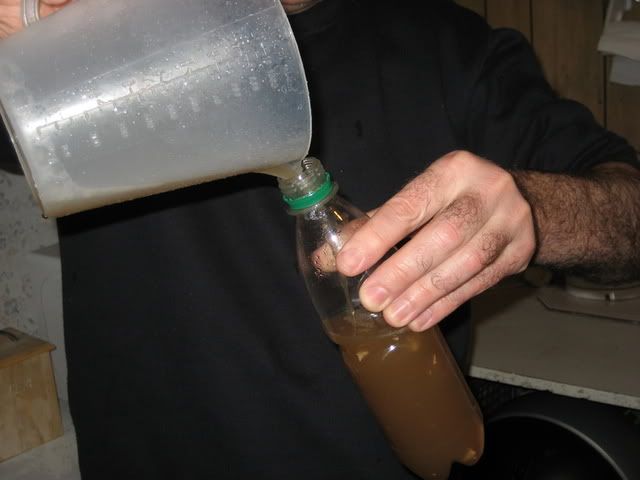
I then mix the yeast which is in the starter bottle with the new, cooled spraymalt solution.
I always make sure that I give the bottle a gentle shake to ensure
that all the yeast has been mixed in with the new spraymalt solution.
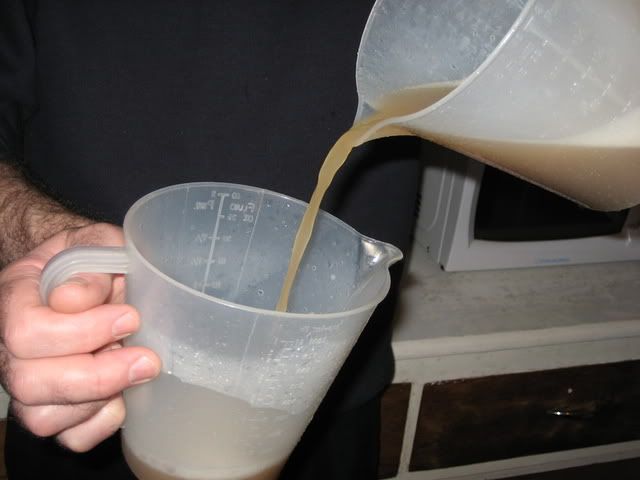
When it is mixed, I pour the mixture slowly from jug to jug about 6 times to aerate the mixture,
this is important to allow the yeast to multiply.
After aerating, the mixture is then transferred to a sterilised
milk bottle fitted with an airlock and then it is placed in a room where the temperature is between 18c-22c.
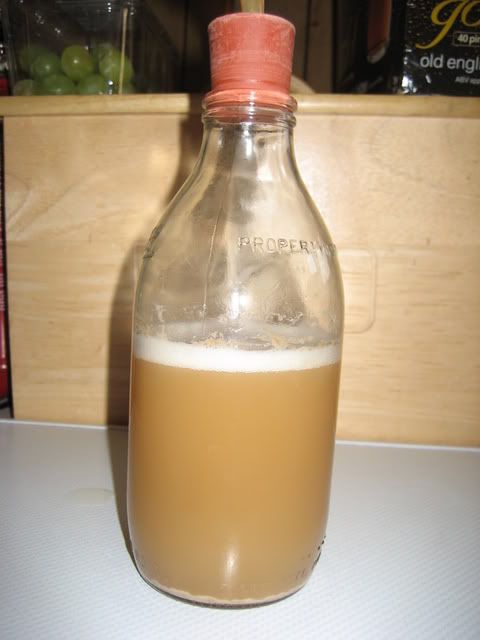
The above photo shows the yeast starter after 12 hours, as you
can see it has started fermenting and a small yeast deposit has formed in the milk bottle.
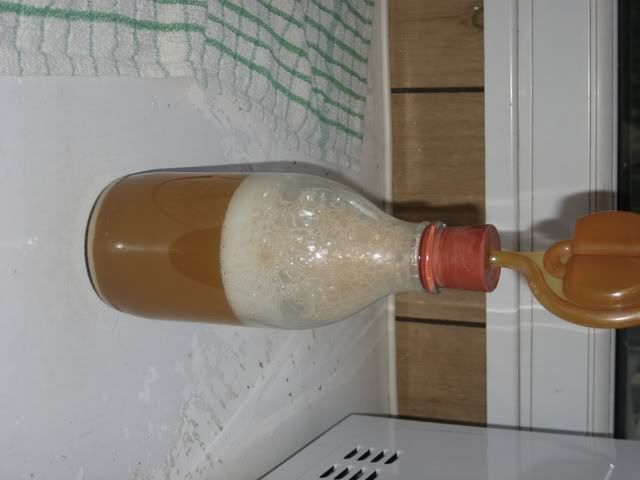
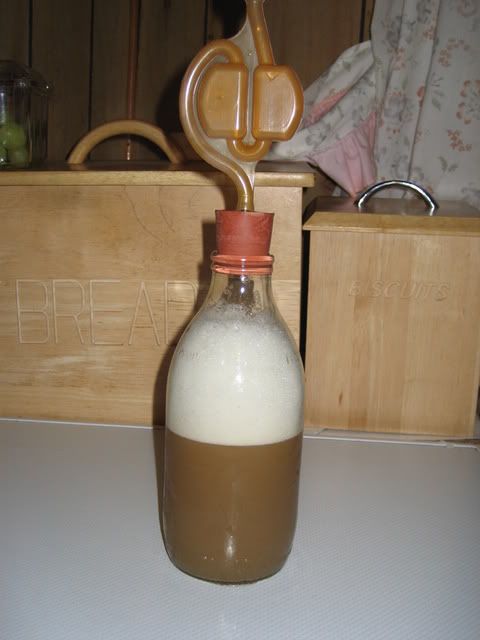
The above photo shows the yeast starter after 40 hours, as
you can see it now fermenting vigorously.
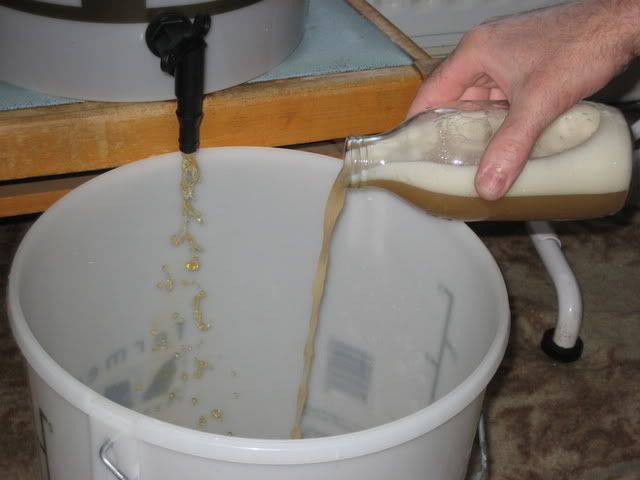
This is the yeast starter being added to my house bitter 48 hours after it was started. I
gave it a gentle swirl to loosen all the yeast from the bottom of the bottle before I added it to the brew. This yeast
starter fermented the brew from a OG of 1044 down to 1010 in seven days.
Please go to the next page, water treatment.