The photo above shows the 12 bottles, syphon tubing, tap, "U" bend, plastic paddle and steriliser
which I used to bottle the fermented spraymalt. I sterilised and rinsed all the equipment with cold water before
I bottled the fermented spraymalt.
The bottles I use previously contained carbonated spring water and they can withstand the pressure
from carbonation, therefore they will be alright to use for this purpose.
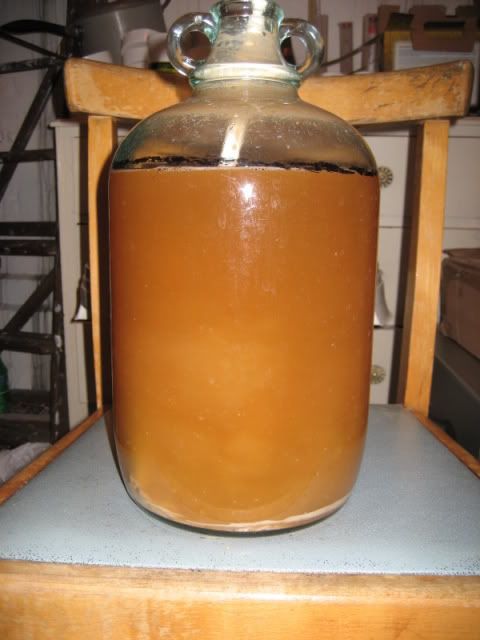
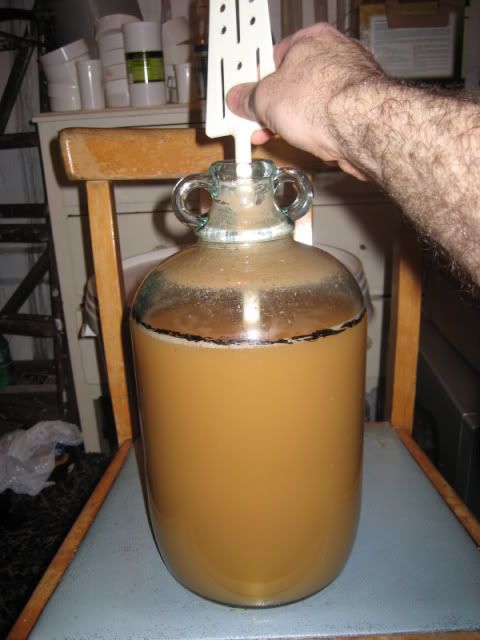
Before I transfer the fermented spraymalt to the bottles, it is
necessary to gently mix the yeast deposit back into the spraymalt. This will ensure that a equal amount of yeast will
end up in each bottle. I stir this with the handle of the sterilised plastic paddle as shown in the above photo.
As you can see in the above photo, the yeast deposit has been mixed
into the fermented spraymalt and the colour is the same from the top to the bottom, therefore all the yeast has been thoroughly
mixed into the spraymalt.
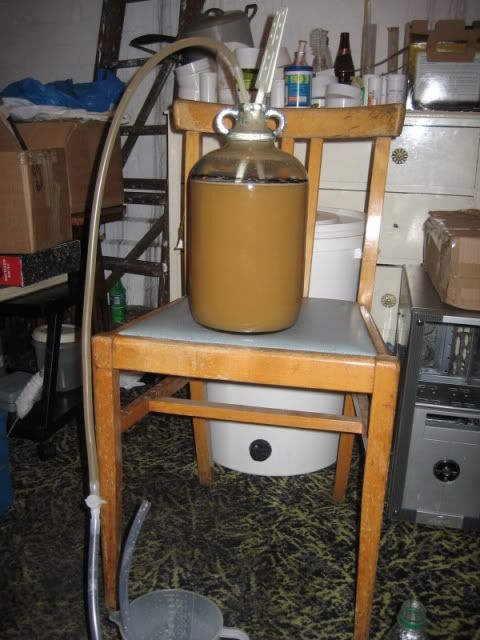
I am now ready to start bottling. To start the syphoning,
I suck on the tube until it starts flowing. As soon as it is flowing, I turn the tap off and swap the short piece of
syphon tubing with the other piece which can be seen in the jug. This ensures that no contamination from bacteria which may be present on the tube I sucked
on will be transferred to the bottles.
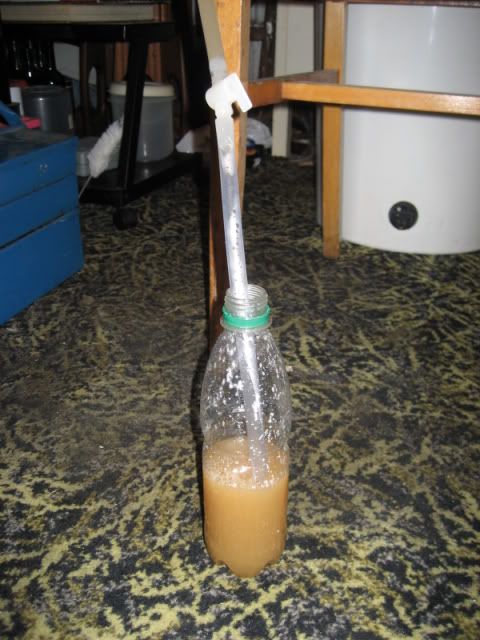
I now fill each bottle in turn to the same level as shown in the
above photo. When the correct level is reached, I simply turn the tap off, fit the cap and fill the next bottle until
they are all filled.
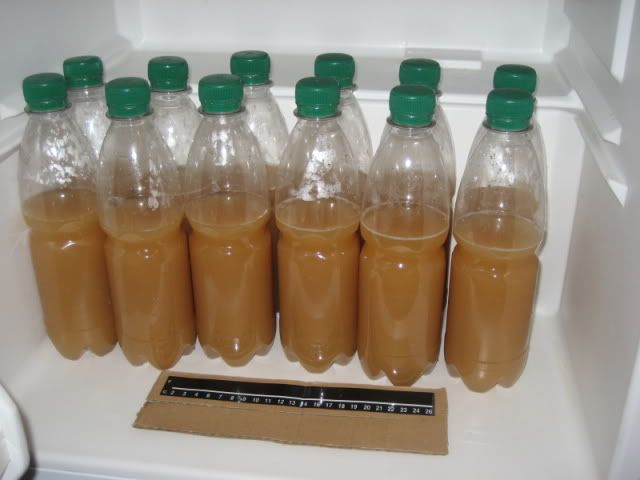
Now
that all the bottles have been filled as shown in the above photo, I store them in the fridge and aim to keep them at a temperature
range of 4c-8c to keep the yeast as fresh as possible.
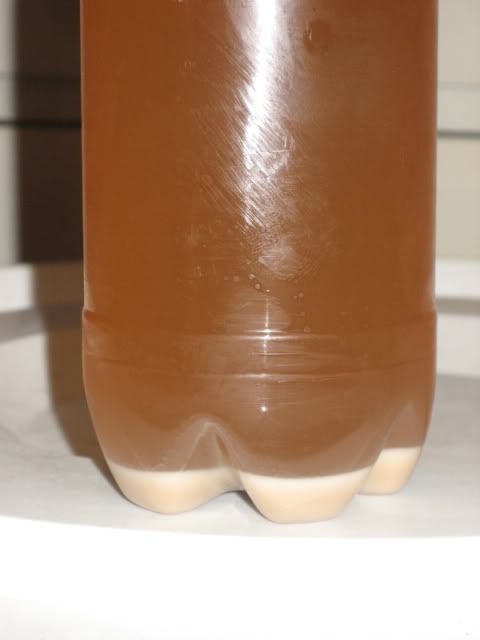
The above photo was taken 24 hours after bottling. You can
see that a yeast deposit has formed and there is an equal amount in the other bottles.
I have successfully kept yeast
using this method for my full "brewing season", usually 6-8 months.
Please go to the next page,
Whitelabs yeast starter.