Regardless whether I brew a beer or lager from a kit or an all
grain brew, if I intend to bottle a brew I always cask condition the brew for 10-14 days before I bottle it. This
allows the brew to clear up and mature, this is especially recommended for an all grain brew, the hop bitterness in particular
will have a harsh flavour, if you transfer it straight into a bottle and seal the bottle with a crown cap you will trap
this harshness in your finished brew. This method will prevent this from occurring. I use a 5 gallon budget pressure
barrel fitted with a pressure relief valve for this stage.
As I mentioned on the previous page I am aware that the brew is still fermenting slowly, I prefer
to cask condition the brew at this stage to allow a layer of Co2 to build up fairly quickly. This will prevent the brew
from becoming stale.
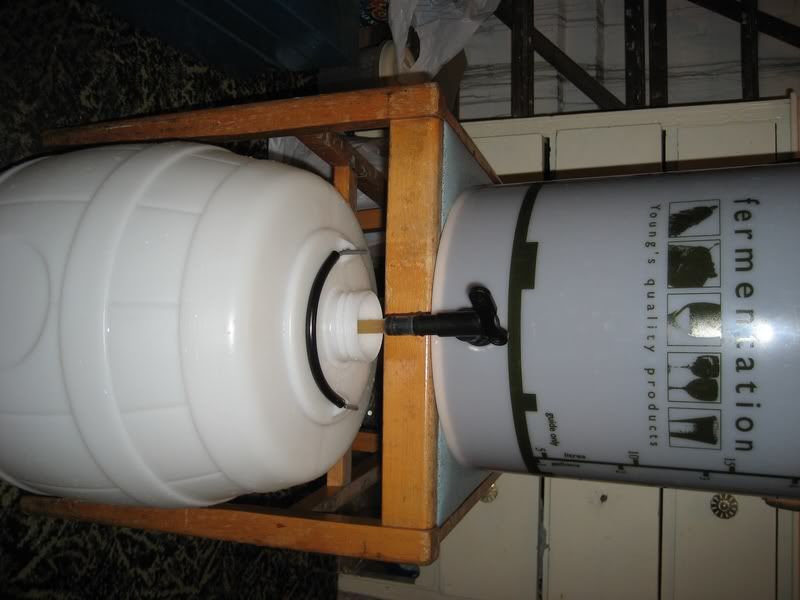
The first step is to sterilise and thoroughly rinse with cold
water the budget barrel, cap, and the plastic tubing used to transfer the brew. When this is done, I push the tubing
onto the tap on the fermenting bucket, the tubing reaches the bottom of the budget barrel, you will also see in the above
photo that I have only partly opened the tap, this allows the brew to be transferred slowly, also preventing aeration
occurring.
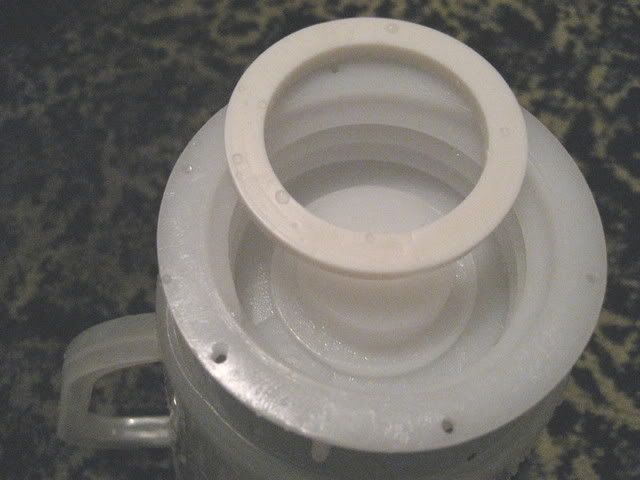
While the brew is transferring, I prepare the cap by giving the "O" ring and the screw threads
a coating of Vaseline or petroleum jelly. This helps to give an airtight seal and make the cap easier to remove
when the barrel is empty.
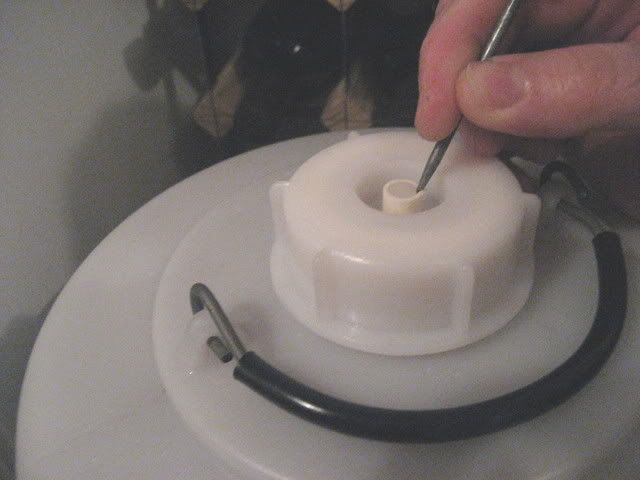
After 24-36 hours, I gently pull back the pressure release seal
on the valve as shown above, this purges the air from the barrel also preventing oxidisation, although at this stage the risk
is minimal, prevention at the transferring stages is more important. I repeat this 36-48 hours before I intend to bottle
the brew; I also remove the valve seal at this stage. This makes the brew easier to bottle as it reduces the foaming
which may occur if the beer is too lively.
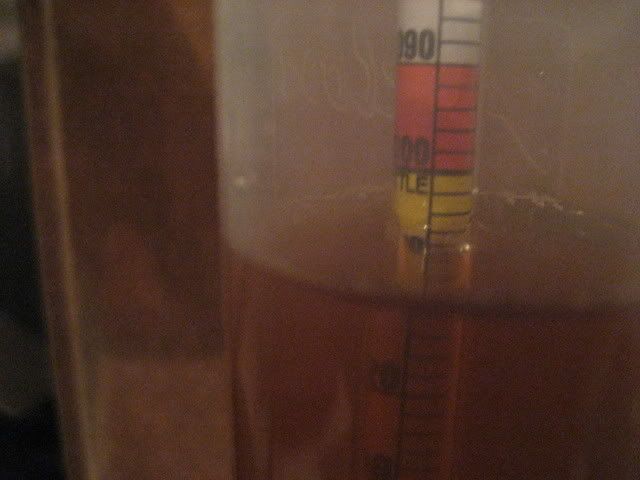
I also take a hydrometer reading at this stage, I took a reading
of 1007 as shown in the above photo, after correcting my hydrometer reading the gravity of the brew is 1009. The brew
is clear and has been left for 13 days to mature and it is now ready for bottling.
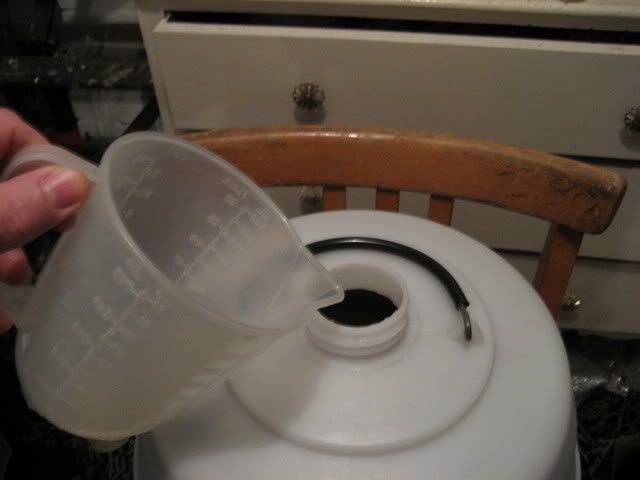
I dissolved 60g of sugar in a small amount of boiling water, allowed
to cool and added it to the cask as shown in the above photo and then I re-fit the cap on the cask. This was added
about 12 hours before the brew was bottled to allow the sugar solution to thoroughly mix with the brew. I do not
normally use finings in my bottled brews, if you wish to use finings; this is the stage when they should be added.
Please go to the next page, bottling.