This is not an essential stage, but it is favoured by me as it
allows the yeast to be active when it is added to the brew. I intend to make this starter with the sachet of Gervin
yeast which can be seen on the all grain brewing introduction page.
To prepare a yeast starter I dissolve 40 grams of spraymalt in
300 ml of warm, boiled water. Spraymalt mixes easier in warm water rather than boiling water, clumping may result if
it is mixed with boiling water. I then place the jug in the microwave for 1 minute on full power to bring it to
the boil and sterilise the solution.
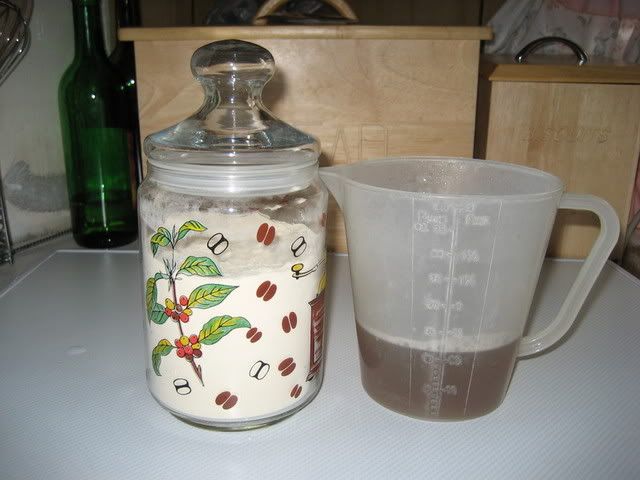
The above photo shows the spraymalt in the jar and the mixed solution
in the jug. The solution is then left to cool until it is around 18c-22c. To do so quickly, place the jug in a
basin of cold water.
While this is cooling, prepare the yeast by opening the sachet and mix it in a jug containing
50 ml of cool, boiled water. I also add 1/4 teaspoon of brewing sugar to this mixture. Ensure that it is around
18c-22c.
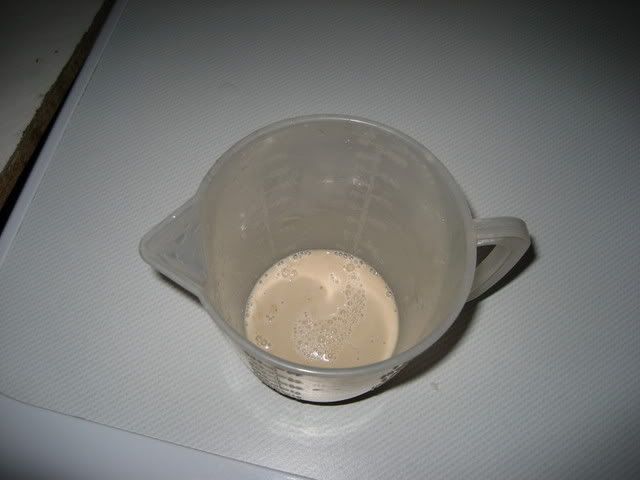
The above photo shows the yeast mixture, leave it for 20-25 minutes
for it to activate.
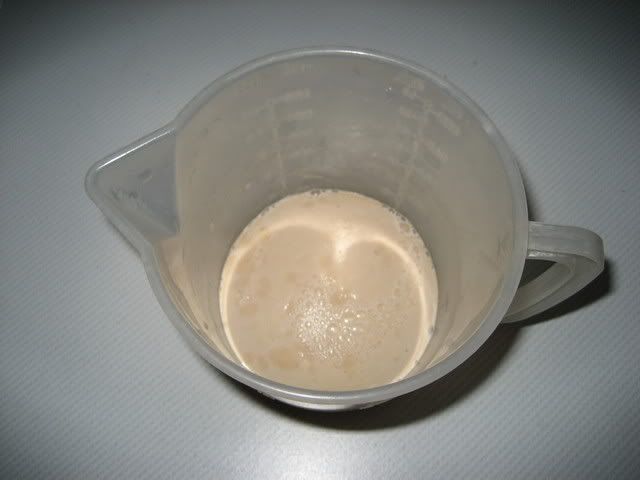
The above photo shows the yeast is now frothing; it is now time
to mix it with the cooled spraymalt solution and stir well. When it is mixed, I pour the mixture slowly from jug to
jug about 6 times to aerate the mixture, this is important to allow the yeast to multiply.
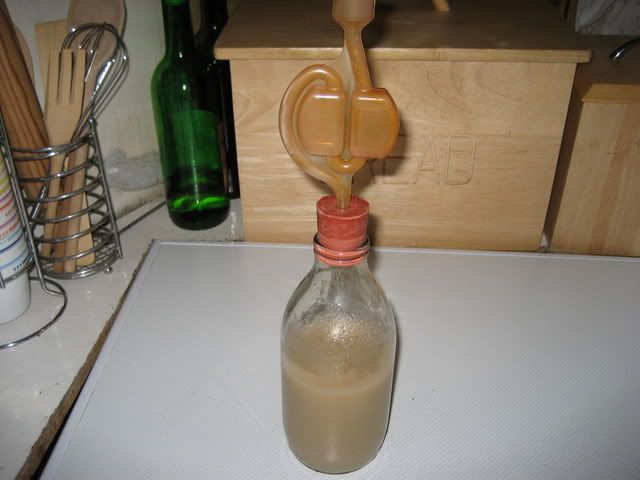
After aerating, the mixture is then transferred to the sterilised
milk bottle fitted with an airlock, then it is placed in a room where the temperature is between 18c-22c.
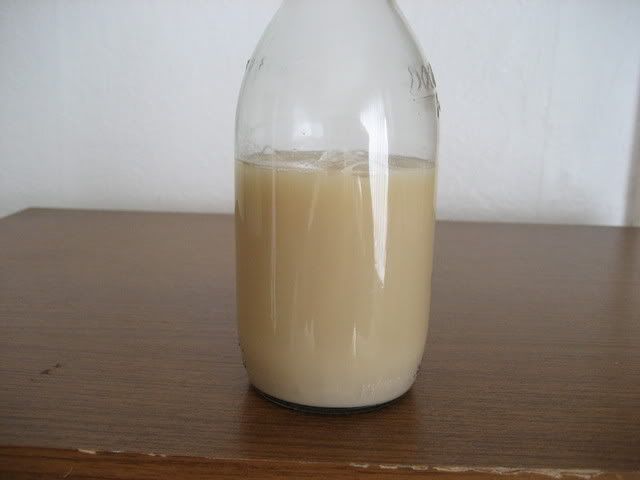
The above photo was taken 16 hours later, as you can see the mixture
is fermenting, there is froth on the surface and yeast can be seen in the bottom of the bottle, the airlock is bubbling also.
Please go to the next page, splitting a Whitelabs yeast.